How to Attach a Trellis to a House for Climbing Plants?
This guide gently leads you through attaching a trellis to your home in a way that’s both secure and pleasing to the eye, perfect for those climbing plants you love.
- Discover how to choose the best trellis material that fits your local climate and the plants you’re eager to grow.
- Get to grips with the essential tools and safety precautions you’ll want before installing your trellis because a little prep goes a long way.
- Follow a straightforward step-by-step method for mounting your trellis on various exterior walls to make the process less like a puzzle.
- Pick up practical maintenance tips to keep your trellis and your home’s exterior looking sharp and standing strong over the long haul.
Climbing plants have recently become favorites among home gardeners because they work magic by taking your garden vertical, especially when space is tight. Learning how to attach a trellis to your house does more than save precious ground space. It also adds a charming architectural touch and provides your plants with a sturdy support to help them grow stronger and healthier.
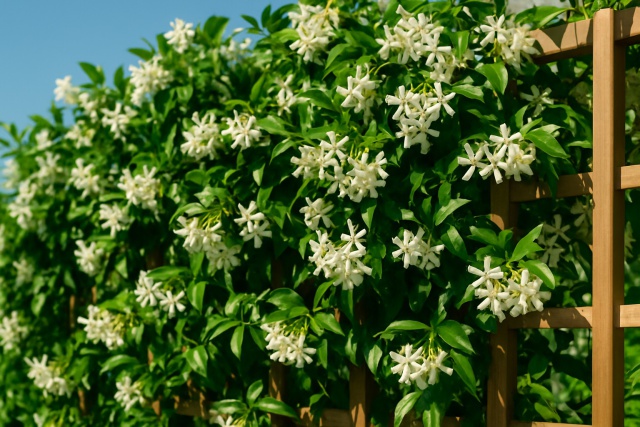
A trellis is a framework usually crafted from wood, metal or plastic strips woven together and designed to support climbing plants like ivy, clematis or climbing roses. You’ll find several popular styles such as flat trellises that hug walls, charming arched or free-standing types and expandable accordion-style options that stretch to fit your space. One thing I always stress is making sure the trellis is firmly secured to your house because it’s the best way to avoid headaches from wind gusts or the heavy weight of flourishing plants.
How to Choose the Perfect Trellis for Your Home and Garden (Because Your Plants Deserve the Best)
When picking out a trellis it is worth giving some thought to how tough the material really is and the size and style that fits your space. Also consider whether it plays nicely with your climbing plants and how well it holds up against your local weather quirks.
- Wooden trellises bring a charming natural vibe to your garden and are straightforward to customize. You will want to keep up with regular sealing or painting to prevent rot.
- Metal trellises made from wrought iron or aluminum offer strong durable support that requires minimal fuss but can be a bit of a wallet pinch.
- Plastic or vinyl trellises are lightweight and stand up well against the weather. They are a solid pick if you’re watching your budget, even if they might struggle under the weight of heavier plants.
The size and design of the trellis need to match how your climbing plants like to grow and how much they weigh once they’re fully grown. Take wisteria for example — those big plants demand sturdy wide frameworks to support their grandeur. On the flip side, delicate vines thrive on smaller finer grids that suit their nature.
Handy Tools and Safety Tips for Attaching a Trellis to Your House
Gather the right tools first. You will want a drill to punch those holes cleanly, anchors that’ll keep your trellis from doing the wobble dance and screws and washers to hold everything tight. Use a level to make sure it’s not leaning like the Tower of Pisa.
- Electric drill paired with drill bits tailored to your wall type so you’re never caught off guard
- Wall anchors or masonry plugs your trusty sidekicks when working with stubborn brick or concrete
- Exterior-grade screws and washers that mean business and guarantee your trellis stays put
- A carpenter’s level because nobody wants a crooked trellis—it’s all about perfect alignment
- Measuring tape for those moments when precision really matters
- Protective gloves and safety goggles—safety first even if you feel like a superhero in them
- Ladder or step stool to help you reach tricky high spots without a stretch injury
- Pencil or chalk to mark your drilling points so you don’t have to rely on guesswork
Safety should always be your top priority when attaching a trellis to your home. Take your time with power tools and wear protective gloves and goggles. Double-check that your ladder is steady on a flat surface before you start climbing. Keep in mind the type of wall you’re working on. Brick or stucco usually needs a different approach and can be trickier and riskier than wood siding.
Step-by-Step Guide on How to Attach a Trellis to Your House
Attaching a trellis to your house isn’t rocket science, but a little know-how goes a long way. Whether you’re aiming to boost curb appeal or just want to give your climbing plants a sturdy home, this guide has you covered every step of the way.
- Take a good, close look at the wall type and its condition to make sure it’s sturdy enough to hold both the trellis and the weight of your plants—no one wants a sagging mess later on.
- Measure and mark precisely where the trellis will go, double-checking it’s nice and level and set at just the right height for your greenery to thrive.
- Pre-drill holes at the marked spots on both the trellis and the wall to make the whole installation process a breeze rather than a wrestling match.
- Use wall anchors or plugs if necessary, especially if you’re dealing with masonry or stucco—those surfaces can be a bit tricky.
- Attach the trellis firmly to the wall with exterior-grade screws and washers to keep everything snug and prevent any annoying loosening or damage over time.
- Give the trellis a good once-over to ensure it’s stable and level once mounted, tweaking it as needed to avoid any uneven strain or awkward gaps that might cause trouble down the line.
Use screws and anchors that can stand up to corrosion without throwing in the towel for a durable and reliable installation. Taking a bit of extra time to make sure the trellis is perfectly level and snug against the wall goes a long way in preventing any unwanted strain or damage to your home.
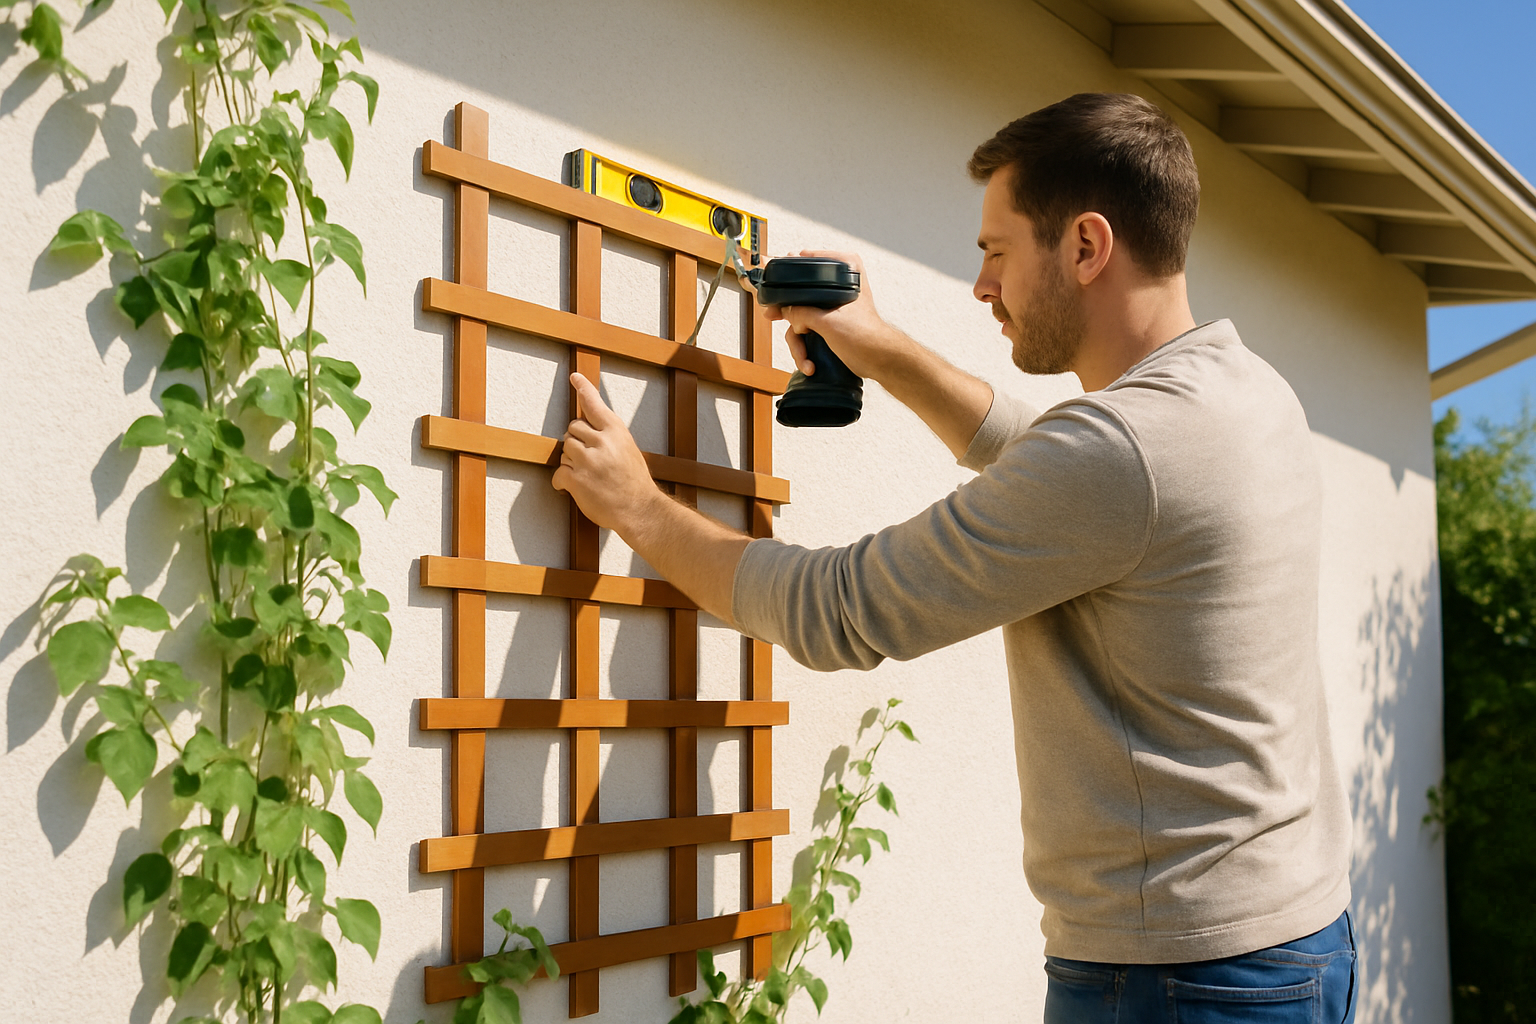
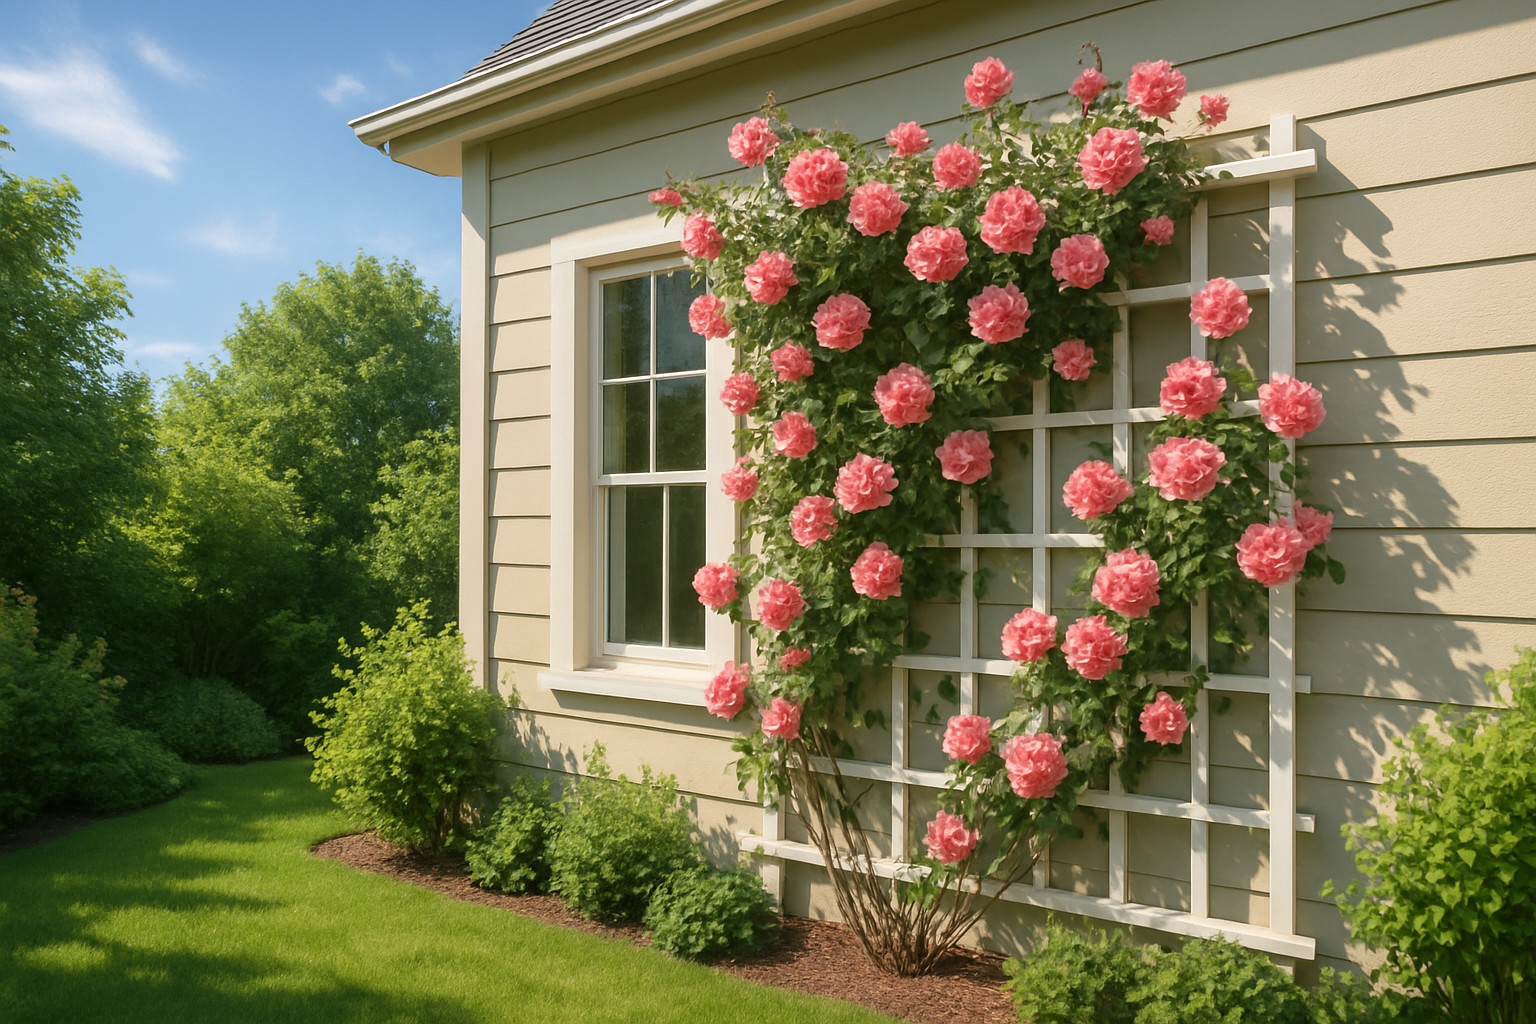
Step-by-step image showing how to securely mount a trellis to a house exterior.
How to Attach a Trellis to Various Exterior Wall Types (Without Losing Your Mind)
How you attach a trellis really depends on your house’s exterior wall material. Wood siding tends to be forgiving and lets you screw the trellis right in without much effort. But with tougher materials like brick, stucco, vinyl or concrete you will need special anchors and the right drilling techniques.
| Wall Material | Recommended Anchors/Fasteners | Tools Needed | Special Considerations |
|---|---|---|---|
| Wood Siding | Exterior-grade wood screws | Drill, screwdriver, level | It’s a good idea to pre-drill holes to avoid any pesky splitting; rust-resistant screws are definitely the way to go |
| Brick | Masonry anchors or sleeve anchors | Masonry drill bit, hammer drill, level | Make sure you’re using the right hammer drill bits and double-check those anchors are snug as a bug in a rug |
| Stucco | Plastic anchors with stainless screws | Masonry drill bit, hammer drill, level | Drill with care to keep the stucco from cracking; anchors should sit nice and flush with the surface |
| Vinyl | Self-tapping screws with washers | Electric drill, screwdriver, level | Be gentle here—avoid overtightening to keep the vinyl from cracking or warping unexpectedly |
| Concrete | Concrete anchors or wedge anchors | Hammer drill, masonry bit, level | Just remember to drill deep enough so those anchors hold tight, no wiggle room allowed |
It’s a smart move to test a small, out-of-the-way spot first. This little experiment helps you figure out what kind of wall material you’re dealing with and gives you a good sense of its condition. Keep an eye out for any damage or weak spots that could throw a wrench in how securely the trellis gets mounted.
How to Keep Trellises Attached to Houses in Tip-Top Shape
Keeping an eye on your trellis now and then means you can spot loose screws or worn anchors before they cause bigger headaches. Giving it a good clean sweeps away dirt and mold.
- Make sure to tighten any loose screws or swap out rusty hardware sooner rather than later to keep the structure rock solid.
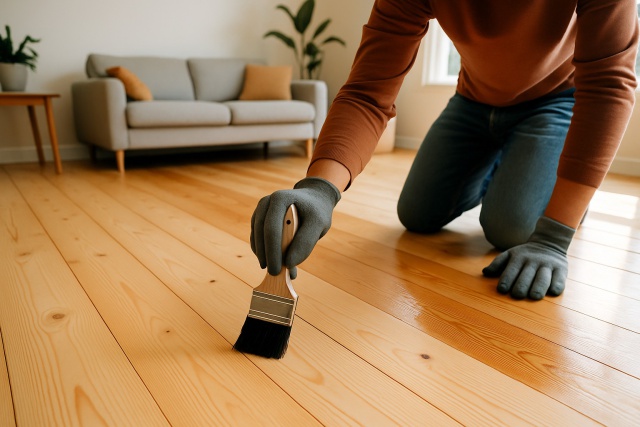
- Give wooden trellises a fresh coat of paint or resealing each year to fend off rot and pesky insects.
- Gently wipe away dirt or mold with a mild detergent and water. This TLC can really extend their lifespan.
- Clear dead leaves and debris regularly to stop moisture from sneaking in against the house.
- Keep an eye on plant growth and steer vines away from clinging directly to the wall since that kind of love can cause damage.
If you need to take down your trellis after learning how to attach a trellis to a house, it’s best to loosen the screws slowly and dismantle it gently. No one wants to deal with a scratched-up house exterior.