How To Make a Christmas Decorated Dollhouse at Home

Whipping up a Christmas decorated dollhouse at home is not only a creative adventure but also a delightful way to sprinkle some festive cheer around your space. This charming project blends artistic flair with holiday spirit to craft a decoration that captures cozy warmth and Christmas magic. Whether you are a seasoned crafter or just trying DIY for the first time this guide lays out a clear step-by-step path to transform a simple dollhouse into a miniature holiday haven.
A Christmas decorated dollhouse is a tiny home detailed with classic holiday touches like wreaths, twinkling lights, and fake snow. It captures the warm and joyful spirit of Christmas in a charming display.
Materials and Tools You’ll Need to Deck Out Your Christmas Dollhouse
- A simple wooden or MDF dollhouse kit to get your creative juices flowing
- Acrylic paints in festive shades like red, green, white, gold and silver that bring the holiday spirit to life
- Small Christmas trees and wreaths to sprinkle a bit of genuine holiday charm around
- String lights or tiny battery-operated LED fairy lights that add just the right cozy glow
- Craft glue and a trusty hot glue gun to make sure nothing goes wandering off unexpectedly
- Paintbrushes in various sizes perfect for those detailed touches where precision really counts
- Colored and patterned crafting papers to serve as charming wallpaper and decorations that elevate the look
- Cotton balls or fake snow to mimic that natural snowy scene we all secretly wish for at Christmas
- Small scissors and craft knives to handle the delicate cutting without a hitch
- Miniature decorations like candy canes, gift boxes, stockings and little figurines to make things feel truly festive
- Transparent thread or thin wire for hanging tiny ornaments because invisibility is the name of the game here
- Sandpaper to smooth out any rough edges before you get down to painting and decorating
Beginners usually find it easier to dive in with ready-made dollhouse kits and simple decorations. This is a great way to avoid feeling overwhelmed right out of the gate. On the flip side, those with more experience often get a real kick out of crafting detailed miniatures from scratch and pouring in little touches by hand. Affordable materials are pretty easy to find whether you’re poking around local craft stores, browsing online shops or scrounging through household items to repurpose.
Step 1 Get Your Dollhouse Base Ready Let’s Lay the Groundwork!
Give the dollhouse a thorough clean to kick dust and debris to the curb. Take a gentle hand to sanding any rough spots or edges so everything feels nice and smooth under your fingers. Next up, slap on a base coat in white or a neutral shade—it’s the perfect blank canvas to build your festive paint and decorations on.
Step 2 Cooking Up Your Christmas Theme
Pick a color scheme and holiday style for your dollhouse to really set its overall vibe—think of it as choosing the outfit before the party. Traditional red and green bring that cozy classic Christmas feel everyone knows and loves. A winter wonderland look uses crisp whites and icy blues to give off a cool frosty charm. If you like something more down-to-earth, rustic cabin themes use natural textures and earthy hues that feel like a warm hug from the forest. Victorian Christmas designs dive into deep rich colors and intricate details that make you want to sip hot cocoa by a crackling fire.
- Classic Red and Green Timeless holiday staples decked out with holly, ribbons and bows that bring a cheerful familiar vibe
- Winter Wonderland Crisp icy blues and sparkling silver glitter with snow effects and frosty decorations that make you feel like you’ve stepped into a festive fairy tale
- Rustic Cabin Deep rich wood textures mixed with pine cones, burlap touches and cozy warm lighting that wrap you in a comforting fireside hug
- Victorian Christmas Elegant reds and golds paired with delicate lace details and miniature candle holders giving a nod to old-world charm with festive flair
- Candy Cane Theme Bright reds and whites boasting classic striped patterns and sweet little accents that add a playful sprinkle of holiday cheer
Step 3 Adding Those Finishing Touches to the Exterior That Really Bring It Home
Start by painting the exterior walls and roof in your favorite festive colors and add a touch of gentle shading to bring depth to the scene. Then hang small wreaths on the doors and windows and drape garlands along balconies or eaves—nothing too fancy but enough to catch the eye. When wrapping those tiny string lights, take your time to avoid the usual tangles that seem to sneak up on us all. Scatter some cotton or artificial snow along the roof edges and window sills to give a charming wintery feel.
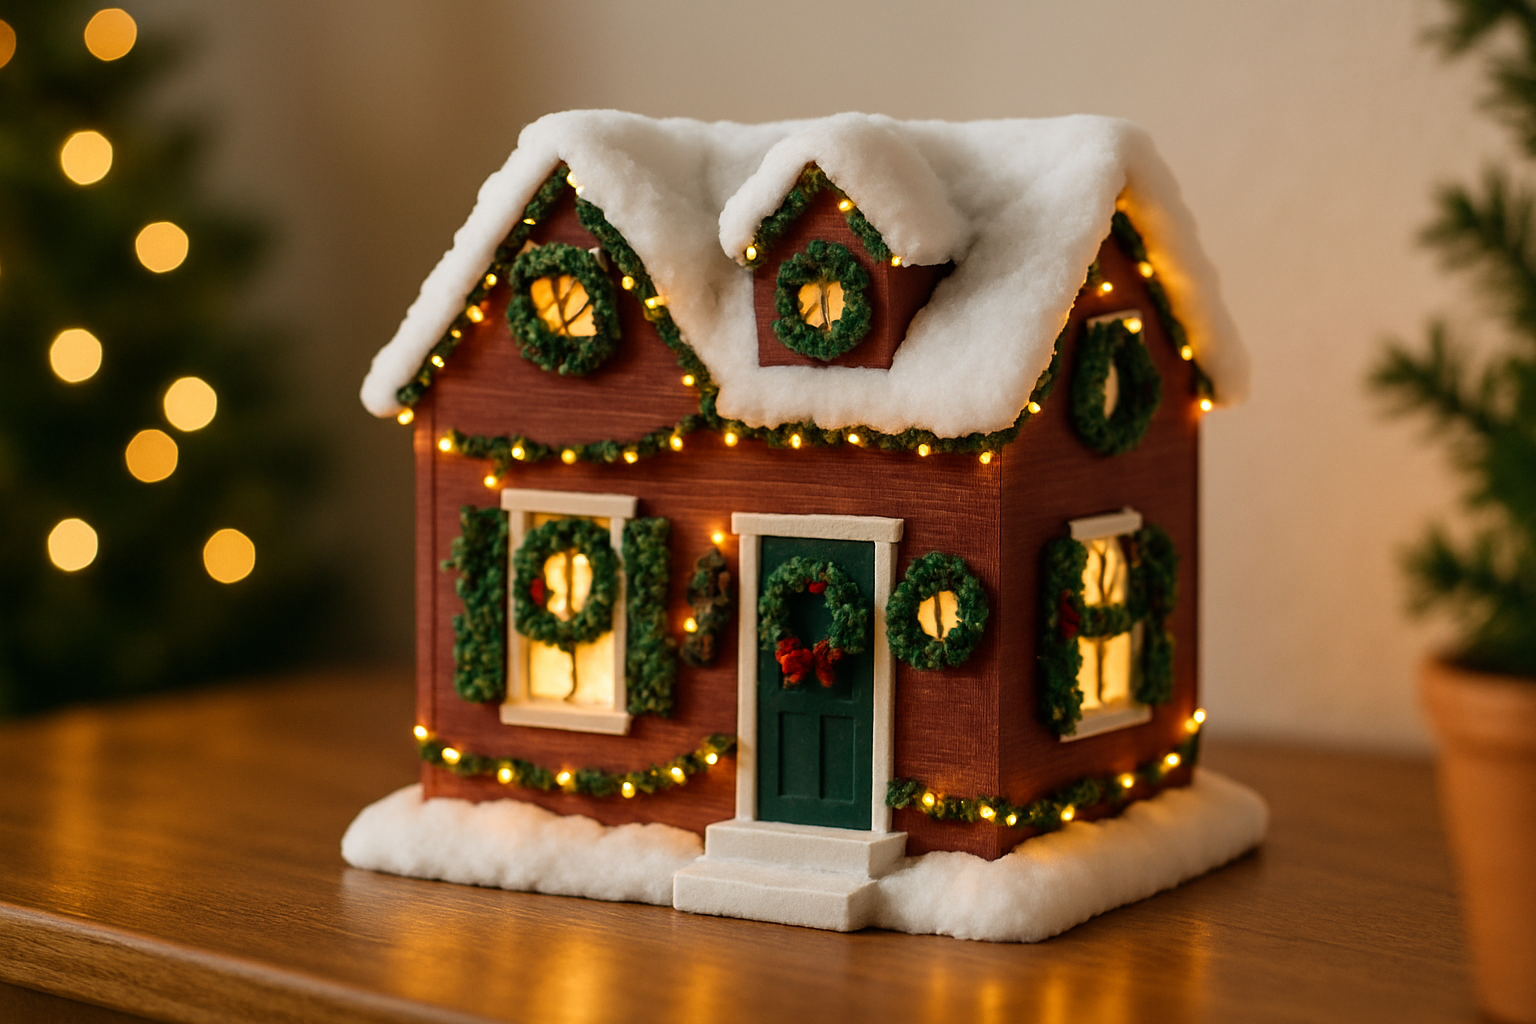
A charming Christmas decorated dollhouse exterior featuring miniature wreaths, string lights, and snowy cotton effects.
When wiring LED lights it’s usually smart to go with battery-powered mini sets not just for safety but also because they’re super convenient. Try to fasten the wires neatly using clear tape or small staples and make sure they’re tucked away out of sight. To give things a cozy inviting vibe scatter a few candy cane decorations by the windows or pop some small wrapped gift boxes on the porch.
Step 4 Adding Those Finishing Touches to the Interior Rooms Because the devil’s in the details
Bring the holiday spirit indoors by tucking small Christmas trees into living rooms or entryways. Deck them out with tiny ornaments and a sprinkle of tinsel that catches the light just right. Hang stockings on mantelpieces like little invitations for magic. Set out petite wrapped gifts beneath the trees for that ‘secret surprise’ vibe and scatter Santa or reindeer figurines around to add a pinch of storytelling charm that makes the scene come alive.
- Place a charming little Christmas tree in the heart of your living room decked out with twinkling miniature ornaments that catch every stray beam of light
- Hang tiny stockings made from felt or paper along the fireplace mantel to add a nostalgic holiday vibe
- Whip up a cozy fireplace scene using colored paper to mimic flickering flames and logs. It’s the kind of crafty touch that makes a room feel snug
- Set the table for some festive fun with small dishes, flickering candles and napkins sporting cheerful holiday patterns
- Tuck wrapped gift boxes made from delicate beads and ribbons beneath the Christmas tree to make the whole setup look like a miniature winter wonderland
- Add curtains adorned with seasonal patterns made from fabric scraps or decorative paper to lend subtle holiday charm
- Brighten up window sills with tiny potted poinsettias or sprinkle on snowflake decals; they just seem to put the whole scene over the top
Step 5 Applying Those Final Touches and Adding Your Own Flair
Adding a personal touch to your Christmas-decorated dollhouse transforms it from a simple display into something genuinely heartwarming. Consider slipping in tiny family photos tucked into miniature frames or crafting small holiday cards with handwritten names. There is something charming about that imperfect penmanship. You could even get creative by molding unique ornaments out of polymer clay or stringing together beads. These little touches do more than add personality. They invite individuals to lean in a bit closer and make your dollhouse feel cozy, festive and truly one of a kind.
Bring your dollhouse to life with that magical sparkle by mixing things up a bit. Think soft fabric curtains that feel just right, shiny metallic paper adding a festive glint to the ornaments and fluffy cotton that mimics snow in the most charming way. Pop in some small battery-operated lights to create a cozy warm glow inside and outside. Throw in a few tiny mirrors or glass pieces to catch those little twinkles that make everything pop.
Common Challenges and How to Tackle Them Like a Pro
- Working with tiny parts definitely calls for patience and the right tools—tweezers are your best friends for handling those itty-bitty pieces with care
- When wiring LED lights to dodge pesky short circuits, I’ve found battery-operated sets work like a charm and securing those wires tight helps
- Keeping your decorations in proportion pays off so taking a moment to measure before you buy or craft miniature accessories can save you a headache later
- To avoid frustrating paint smudges, make sure each coat dries completely and find a clean dust-free workspace—trust me, it makes all the difference
- Repairs usually stay simple if you keep some extra glue and touch-up paint close by for quick little fixes that pop up out of the blue
Creating a Christmas-decorated dollhouse can definitely be a bit of a challenge and really calls for your full focus and creative spark but try not to let frustration steal the joy. Think of each hiccup as a little opportunity to learn something new, letting those inevitable slip-ups guide you toward improvement. With a dash of patience, you’ll find your skills sharpening and the whole process becoming a lot more fun.
Tips for Keeping Your Christmas Decorated Dollhouse in Tip-Top Shape
Keep your christmas decorated dollhouse looking its absolute best throughout the holiday season by giving it a gentle dusting with a soft brush. Use something gentle, just enough to keep the magic alive. If you can, try to keep it out of direct sunlight because fading paint is no one’s idea of a festive treat. When the holidays finally wind down, tuck it away carefully in a sturdy box lined with tissue paper or bubble wrap.
- Use a soft, dry brush to gently dust surfaces. This little trick really helps keep paint and delicate decorations in tip-top shape
- Remember to take out batteries from LED lights and stash them separately because it’s the best way to avoid those pesky corrosion surprises
- Wrap each fragile ornament in tissue paper or bubble wrap to give it that extra layer of TLC
- Pop the dollhouse into a sturdy, roomy container so it doesn’t get squished or battered on the way to storage
- Store the box somewhere cool and dry to keep moisture firmly at bay. Your decorations will thank you
- Label the box clearly with what’s inside and any handling notes since it makes unpacking so much smoother next season