Common Mistakes When Sanding Pine Floors and How to Avoid Them
This guide walks you through sanding your pine floors properly step by step so you end up with a smooth professional-looking finish you can be proud of.
- Get a good handle on choosing the right sandpaper grit and tools so you don’t accidentally damage soft pine wood.
- Discover the best sanding techniques and how much pressure to apply—enough to do the job but not so much that you leave dents or swirl marks behind.
- Walk through the key steps for cleaning and prepping your floor before applying any finish. Make sure it’s all set for a flawless result.
- Pick up practical tips for selecting and applying protective sealants that keep your pine floors looking great over time.
Sanding pine floors is a popular way to breathe new life into your wooden flooring but it calls for care to dodge mistakes that might hurt the wood or mess up the finish. Since pine is a softwood it needs a gentler touch and specific tricks that differ from sanding hardwoods if you want to avoid dents or pesky swirl marks and get a truly smooth surface.
Getting to Know Pine Wood Before You Dive Into Sanding
Pine is a softwood known for its eye-catching knots, pale hue and bold grain patterns that really stand out. Since it’s softer than hardwoods, pine can be a diva when it comes to dents and surface damage during sanding. You’ll want to go easy and pick your grit wisely to avoid pesky uneven patches or dreaded burn marks.
Frequent Pitfalls Individuals Often Stumble Over When Sanding Pine Floors
- Using sandpaper that’s too coarse and can easily gouge or damage the soft wood surface, which you want to avoid for a smooth finish.
- Pressing too hard while sanding causes dents and uneven spots that are tricky to fix later.
- Skipping thorough dust removal between sanding steps clogs the sandpaper and results in a rougher finish.
- Sanding unevenly causes swirl marks or deep scratches that stand out.
- Neglecting to prep the floor by removing nails, staples or debris before sanding—you'd be surprised how often this is overlooked.
- Overlooking safety measures like wearing dust masks and eye protection is a serious mistake.
- Using sanding tools that aren’t right for pine’s softness can cause damage or make the job less effective.
- Failing to seal or finish the floor correctly after sanding leaves the wood vulnerable to stains and damage—that’s just asking for trouble.
Avoid Common Sanding Mistakes with This Step-by-Step Guide
- Start off with medium grit sandpaper and gradually work up to finer grits. Choose types designed specifically for softwoods because pine will thank you for it.
- Use light, even pressure while sanding. Think of it as gently coaxing the wood instead of wrestling with it to avoid unwanted dents or gouges.
- After each sanding session, take a moment to vacuum and wipe the floor carefully since keeping that surface clean is half the battle won.
- Pick sanding tools that suit pine floors like orbital sanders which usually play nicer and are less rough than drum sanders.
- Give your sanding method a trial run on a hidden spot first. It’s better to be safe than sorry and you’ll see exactly how the wood responds before going all in.
- Always sand along the grain because this is key to getting that smooth, even finish everyone dreams of.
- Wear proper protective gear such as dust masks, goggles and ear protection so your future self will be grateful.
- Once you’re done sanding, clean off all the dust and debris thoroughly as this step helps your finishes adhere like a charm.
- Apply sealers and finishes evenly using products made for softwoods. This will protect and bring out the natural charm of your pine floor. It’s that finishing touch that really ties it all together.
Every single step plays a vital role in protecting that soft pine surface and achieving a beautifully smooth finish. Kicking off with the right grit is a smart move to dodge those deep, stubborn scratches. Applying light pressure is key—nobody wants dents ruining their hard work. Giving the surface a good clean sweeps away dust that might sneak in and cause nicks. Sanding gently along the grain helps create a texture that feels just right. Donning safety gear isn’t just a suggestion, it’s your best friend against unexpected hazards.
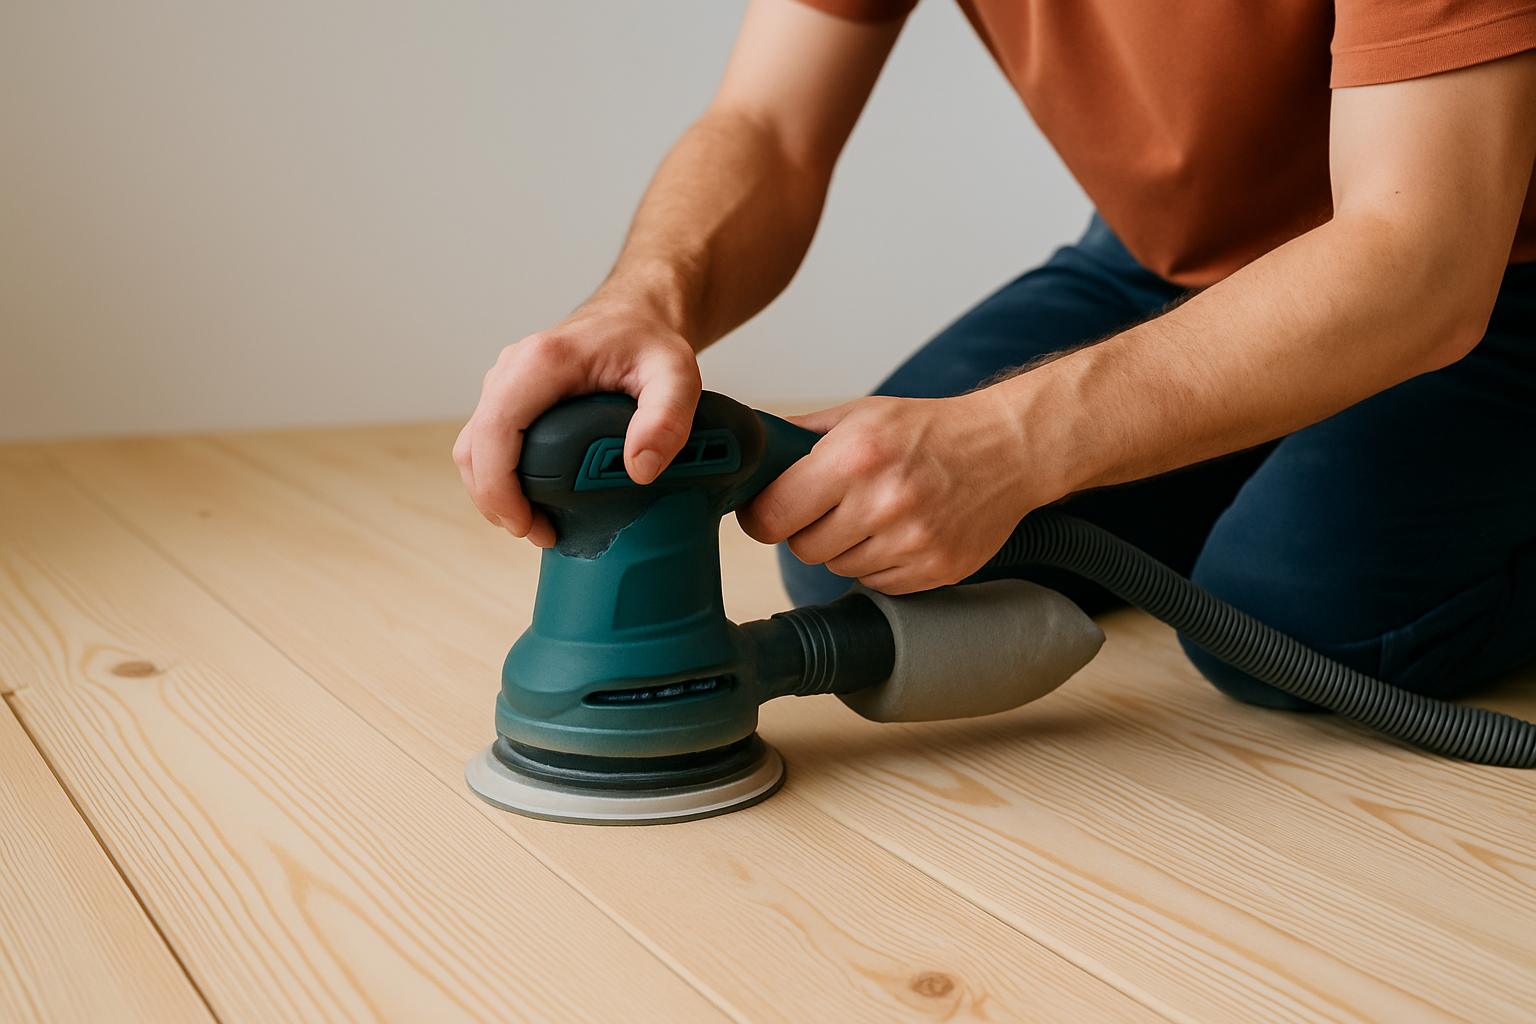
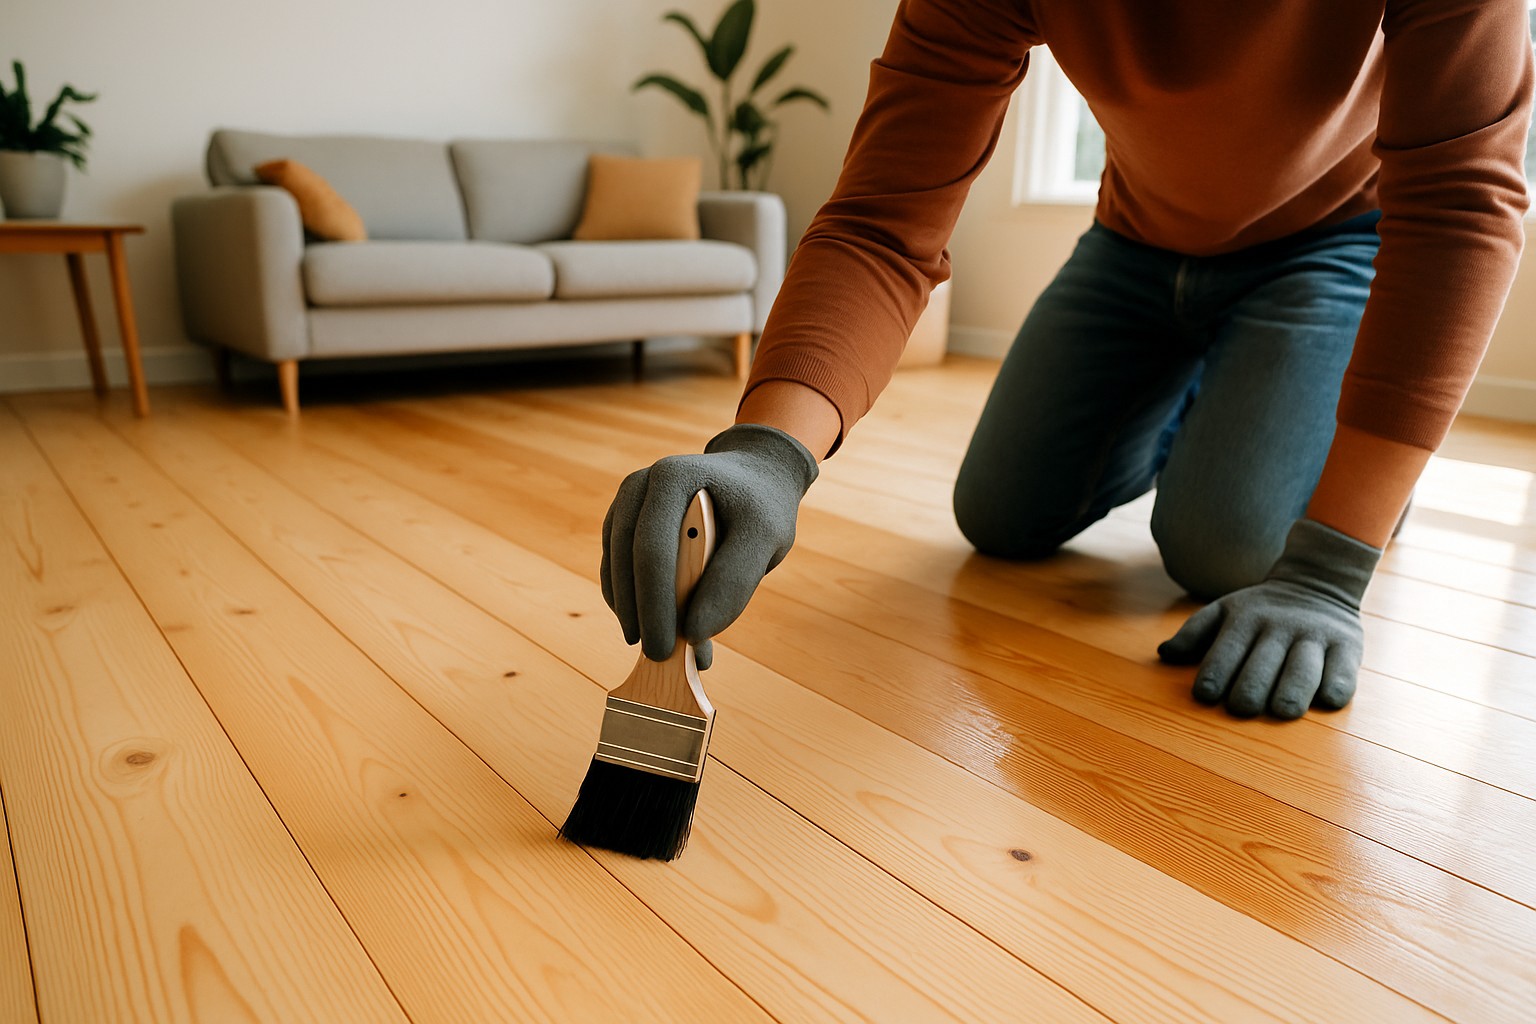
Close-up image showing correct sanding technique and equipment used on a pine floor.
Helpful Tips for Choosing the Right Tools and Supplies That Actually Make Your Life Easier
The tools you pick really make a noticeable difference when sanding pine floors. Orbital sanders tend to be the safer bet compared to drum sanders since they work a bit more gently, helping you dodge those pesky deep scratches. I usually start with sandpaper grits in the 80 to 100 range, gradually moving up to 150 to 180—that combo just seems to play nice with pine's soft character. Using dust extraction or collection systems is a smart move if you want to keep the dust in check and your workspace a lot cleaner.
| Tool/Supply | Purpose | Why Recommended for Pine | Tips for Use |
|---|---|---|---|
| Orbital sander | Delivers smooth, even sanding | Gentler than those aggressive drum sanders, so it helps dodge the dreaded pits | Keep a steady hand moving with the grain; go easy on one spot to avoid over-sanding |
| 80-100 grit sandpaper | For the first round of sanding | Rough enough to knock out surface flaws without going overboard | I usually test the grit on scrap wood first—saves headaches later |
| 150-180 grit sandpaper | Used to smooth the surface and prep for finish | The finer grit helps keep deep scratches off your soft pine, which is a real win | Gradually work your way up through the grits—no skipping steps, trust me |
| Dust extractor | Collects dust while sanding | Stops dust from settling everywhere and messing up your finish | Hook it up to your sander for a much cleaner, less sneezy workspace |
| Tack cloth | Removes dust left after sanding | Clears away those tiny dust specks that love to sneak into finishes | Give the floor a good wipe down between coats—you’ll thank yourself later |
| Oil-based polyurethane | Provides the final protective layer | Soaks deep into pine, boosting its durability and giving a nice sheen | Apply thin, even layers in a well-ventilated spot to avoid any funky smells |
| Respirator mask | Shields you from breathing in fine dust | Important for staying safe when sanding softwoods that kick up lots of dust | Make sure it fits snugly and swap out filters when needed—your lungs will appreciate it |
| Knee pads | Cushions knees during prep and sanding | Makes those long sanding sessions way more bearable | Go for padded, adjustable ones—they’re like a hug for your knees |
Typical Challenges and Some Tried-and-True Ways to Tackle Them
- Fixing uneven floors and dips usually means taking it slow and steady with the sanding and keeping a close eye on how much pressure you’re using so you don’t accidentally punch new low spots into the surface.
- When you’re up against deep scratches or stubborn stains, starting off with a coarser grit often does the trick. Moving forward should be done with a light touch to avoid further damage.
- Keeping dust and debris in check is absolutely key. Using dust extractors and making sure the space is well ventilated speeds up cleanup and helps keep health worries at bay, which is a nice bonus.
- Sanding in one consistent direction, sticking to the right grit sequence and giving everything a good clean before sealing makes all the difference.
Uneven floors can be smoothed out by gradually working through increasing grit sizes, all while keeping a keen eye on your pressure so you don’t accidentally sand away too much in those softer spots. Choosing the right grit is really key—starting off too coarse can easily ruin pine’s delicate fibers, and nobody wants that. To keep dust from taking over your workspace, it’s a smart move to use extraction systems and suit up with proper protective gear.
"When sanding pine floors, patience and careful preparation really do pay off in spades. Taking the time to feel just how soft the wood is and working with the grain—not against it—goes a long way toward achieving a finish that not only lasts but really lets pine’s natural charm shine through." – Hardwood Flooring Expert
How to Put the Finishing Touches on Your Pine Floor After Sanding
Once you’ve finished sanding pine floors down to a nice smooth finish, the next step of finishing it right is absolutely important. It’s the secret to protecting the wood and bringing out its natural charm. Be sure to wipe away every last speck of dust because those tiny bits can sneak in and mess up your finish. Applying a sealer designed for pine sets the stage for a stable surface before you stain or finish. No matter if you’re team polyurethane, oil-based or water-based finish, take your time spreading each coat evenly. Let it dry completely between layers. Patience really pays off here.
- Start by giving the floor a good once-over with a vacuum and then a tack cloth to whisk away every speck of sanding dust because those little bits can be sneaky.
- Next up, apply a primer or sealer designed especially for pine. This step helps the finish soak in nice and even and really makes a difference down the road.
- Now choose the finish that suits your style best. You can use polyurethane for rock-solid protection, oil-based if you want to make that wood color pop like it’s showing off or water-based for an easier less messy cleanup.
- When applying the finish, go slow and steady with a brush or roller. Follow the product’s instructions carefully—no shortcuts here individuals.
- Patience is key. Let each coat dry fully before moving on and if the label recommends it, give a gentle sanding between layers to keep things smooth as butter.
- Finally, keep your floor looking sharp by cleaning with care and giving it a refresh now and then. It’s amazing what a little TLC can do to preserve both its charm and longevity.