DIY Ironing Board Cover Tutorial Using Fabric Scraps
Whipping up a DIY ironing board cover from fabric scraps is a clever way to save a few bucks while adding a bit of personality to an everyday item. Instead of shelling out for one of those pricey commercial covers, you get to tailor the design and size so it fits your board like a glove. Plus, using leftover fabric is a win-win since it trims down waste and gives a second chance to materials you probably already have lying around.
What You’ll Need to Get Started on Your DIY Ironing Board Cover
Before you dive into your DIY ironing board cover project, it is a good idea to gather all your materials upfront to avoid last-minute dashes to the craft store. You will need fabric scraps that can tough it out against heat and some soft batting to give your cover a comfy padded feel. Do not forget elastic to keep everything snug and cozy in place.
- Use cotton or thick linen fabric scraps to craft a cover that is breathable and built to last because nobody wants a flimsy cover when ironing.
- Heat-resistant insulated batting works great for shielding against the iron’s heat.
- An elastic band about 1/4 inch to 1/2 inch wide ensures a snug and no-fuss fit that stays put.
- Sharp fabric scissors are essential since jagged or uneven cuts can ruin the look.
- Sewing pins or clips help keep layers of fabric from slipping while you work.
- A sewing machine can speed things up and sew strong seams, but a sturdy needle will work well if you prefer hand-stitching.
- Don’t forget a measuring tape or ruler because accurate measurements make all the difference when fitting your ironing board cover perfectly.
Step 1 How to Measure Your Ironing Board Properly Without Pulling Your Hair Out
Getting accurate measurements is absolutely key to making sure your new ironing board cover fits like a glove with no annoying bunching or awkwardly tight spots. Start by measuring the length and width of the ironing board’s top surface and take your time here because it’s worth it. Then move on to the depth or thickness from the top down to the bottom edge and don’t rush since precision pays off.
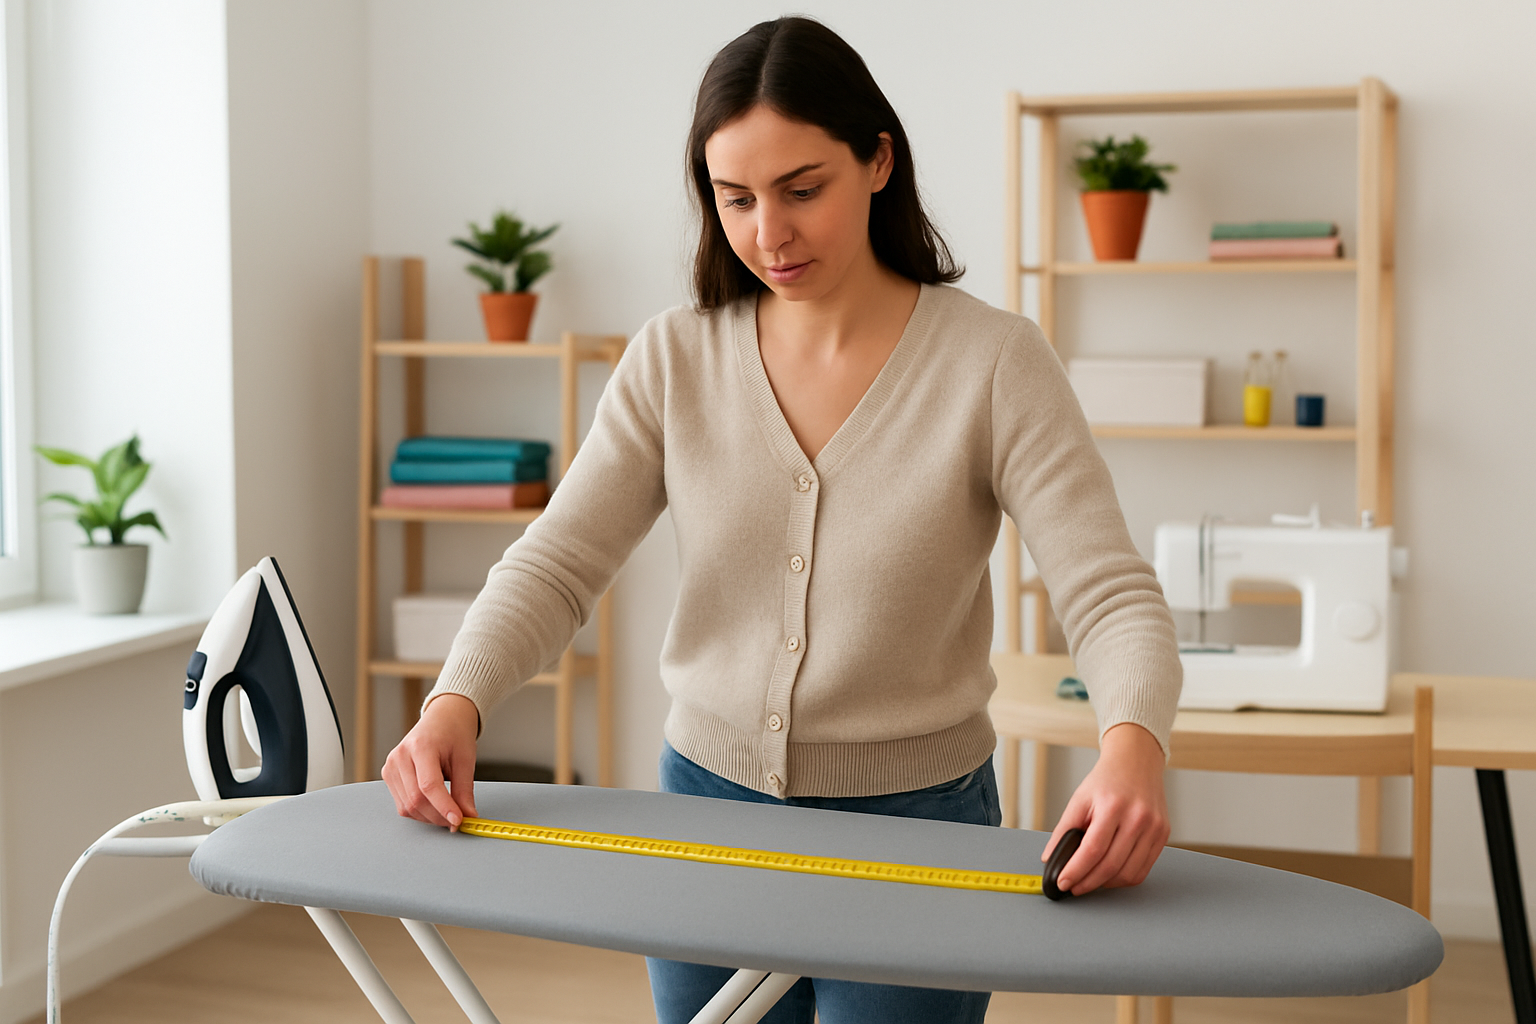
Taking precise measurements of the ironing board's length, width, and depth to ensure a perfect DIY cover fit.
Step 2 Gathering Your Fabric Scraps and Batting Let’s Get Everything Ready
Pick fabric scraps that are nice and clean, with no pesky stains or stubborn wrinkles. If they’re looking a little rumpled, give them a quick press before you cut your batting making the batting just a tad smaller than your fabric usually does the trick to keep things from getting too bulky.
Step 3 Wrangling the Ironing Board Cover into Place
Sewing the cover is what really pulls everything together—fabric, batting and that trusty elastic all snugged up just right to hug your board. Whether you’re sewing by machine or taking the slower more mindful route with your hands, it’s key to keep those stitches even and strong.
- Pin the fabric and batting together with the right sides facing out, making sure to leave enough fabric for the seams and the elastic casing. A little extra never hurts.
- Sew around the edges using a straight stitch but keep an opening so you can slip the elastic in without any fuss.
- Grab a safety pin or bodkin and thread the elastic through the casing, then stitch the ends so it fits just right. Not too tight and not too loose.
- Close up the opening with a secure seam to keep everything neat and prevent any gaps.
- Finally, place the cover on your ironing board and adjust the elastic tension as needed until it fits smooth as silk.
Step 4 Finishing Up and Sprinkling in Your Own Flair
Once your cover fits just right you might feel like jazzing it up with some decorative touches like hemmed edges or appliqués. Giving some extra love to spots that tend to take a beating from the iron like the board's tip can really help your cover last longer.
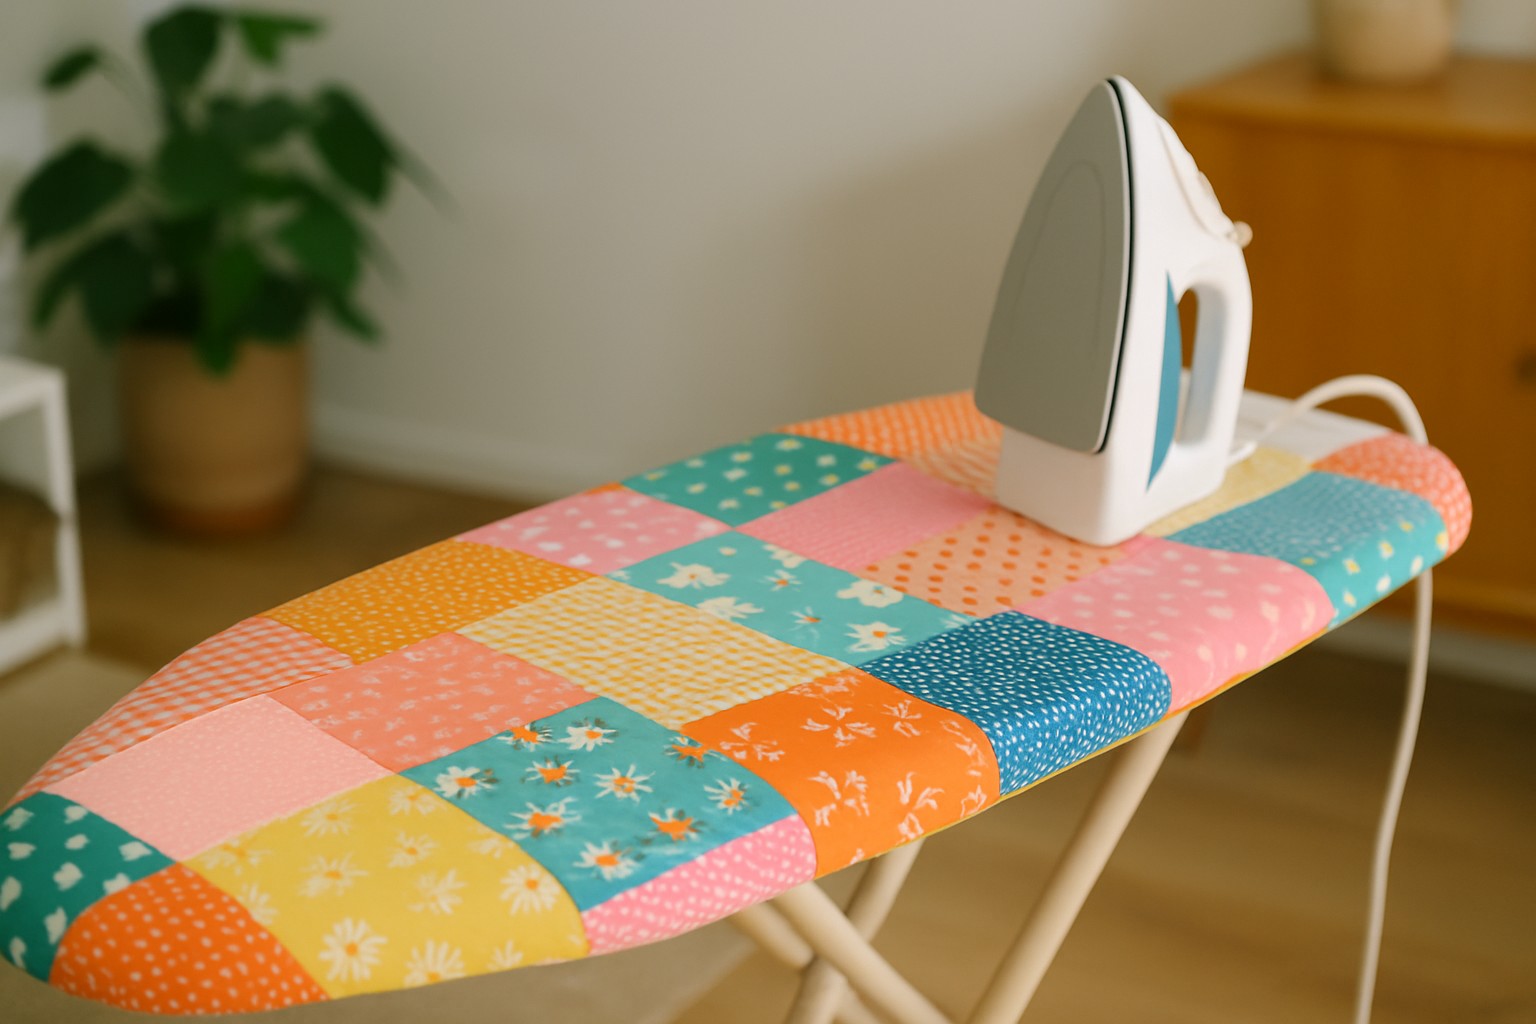
- Whip up a charming patchwork design by stitching together various fabric scraps and give your creation a lively eclectic vibe full of character.
- Play around with appliqué techniques to sneak in patterns or meaningful names and add that extra sprinkle of personality.
- Grab some heat-resistant fabric paint to jazz up ironing areas or add fun decorative touches that catch the eye.
- Beef up high-traffic spots by stitching on extra batting patches or layering fabrics because a little reinforcement goes a long way for durability.
How to Tackle Common Challenges (Without Losing Your Cool)
Common challenges with making or using DIY ironing board covers often come down to a few annoying issues. Fabric can wrinkle badly, the elastic might be too tight or too loose, and measurement mistakes often lead to a cover that does not fit properly. Wrinkles are less troublesome if you choose tightly woven natural fabrics and press them well before sewing. A little preparation goes a long way. If the elastic feels too tight or slack, don’t worry. You can adjust its length by cutting or adding small pieces before securing it. When measurements are off, you have choices. You can trim the extra fabric and adjust the seams or add fabric panels for extra coverage.