How to Refinish Cabinets with Stain for a Fresh Look
This guide shows you how to give your kitchen or bathroom cabinets a fresh beautifully stained makeover.
- Discover how to prep your cabinets the right way—clean, sand, and condition the wood so your stain goes on smooth and even with no surprises.
- Dive into the best types of wood stain and learn how to pick the perfect match for your project’s vibe and needs.
- Follow a clear step-by-step guide to applying stain evenly—no streaks or blotches, just a finish that looks like a pro did it.
- Get the lowdown on sealing and protecting your cabinets with a tough topcoat that keeps them looking sharp for years.
Learning how to refinish cabinets with stain is a budget-friendly and rewarding way to give your kitchen or bathroom a fresh new look. This detailed guide walks you through every step of the process and shares clear instructions and handy tips that even beginners can follow to achieve a beautiful long-lasting finish.
It’s good to have a clear idea of what cabinet refinishing actually involves. Rather than slapping on a coat of paint, staining lets the natural grain and character of the wood shine through and lends a warm timeless vibe.
Gathering Up the Tools and Materials You’ll Need for Refinishing Cabinets
Getting all your tools and materials lined up before diving in is absolutely important for a cabinet refinishing project that goes off without a hitch. This means rounding up everything from your trusty cleaning products to the right protective gear.
- Sandpaper in different grits (120, 220 and 320) to gently strip away old finishes and smooth down surfaces until they’re just right.
- A good wood cleaner or degreaser to tackle dirt and stubborn oils that just won’t quit.
- Wood stain in the color and type you prefer to nail that perfect final look.
- Wood conditioner to help the stain soak in evenly and give you a finish that looks like a pro did it.
- Brushes and lint-free cloths for applying both stain and finish without leaving a mess behind.
- Painter’s tape to keep nearby surfaces safe and sound—nobody wants unexpected paint wars.
- Screwdrivers for removing doors, drawers and hardware without breaking a sweat.
- Drop cloths to shield floors and counters from accidental spills or drips—your cleanup crew will thank you.
- Safety gloves and a respirator or mask to guard your skin and lungs from dust and fumes—staying safe is smart.
How to Prepare Cabinets for Refinishing
Getting your cabinets ready for refinishing might not be the most exciting part of the job, but trust me, a little elbow grease here goes a long way. Think of it as laying the groundwork for a smooth makeover that’ll really wow everyone when it’s done.
Proper preparation truly sets the stage for a flawless finish. Think of it as the unsung hero behind the scenes. This means carefully removing cabinet doors and hardware and giving surfaces a deep clean to banish grease and grime. You also fix minor dings or scratches, sand down old finishes until they’re just right, and condition the wood to help everything soak in nicely.
- Carefully pop off all the cabinet doors, drawer fronts and hardware like handles and hinges. Grab your trusty screwdriver and take your time.
- Give every surface a good scrub with a wood cleaner or degreaser to chase away all the dirt and grease that have been lurking around.
- Scout out any dents, scratches or holes. Then fill those imperfections with wood filler and sand them until they feel silky smooth.
- Sand everything using medium-grit sandpaper. This will help strip off the old finish and create an even canvas on the wood.
- Don’t skimp on the wood conditioner. Apply it evenly to keep the stain from going patchy and to help it sink in just right.
How to Pick the Best Wood Stain for Your Cabinets (Without Losing Your Mind)
Picking the right stain really makes all the difference when you are aiming for that perfect look. Wood stains come in a variety of types like oil-based, water-based and gel—each bringing its own set of perks. When choosing, it’s worth thinking about the type of wood you are working with, how easy the stain is to apply and drying time. Of course, consider how durable and vibrant the color will turn out.
| Stain Type | Drying Time | Ease of Use | Durability | Best Wood Types | Finish Appearance |
|---|---|---|---|---|---|
| Oil-Based | 6-8 hours | Moderate (you’ll notice the odor) | High | Pine, Oak, Cherry | Gives a rich, deep, wonderfully natural look |
| Water-Based | 1-2 hours | Easy (barely any smell) | Moderate | Maple, Birch, Poplar | Bright and clear tone that lets the wood shine |
| Gel Stain | 4-6 hours | Simple to apply — no fuss | High | Great for just about all hardwoods | Thick, even coverage you can count on |
| Hybrid | 2-4 hours | Pretty straightforward to use | Very High | Plays nicely with most woods | A nicely balanced, smooth finish that impresses |
It’s always a smart move to test stain colors on a hidden spot or a scrap piece of wood first. This little step lets you get a sneak peek of how the stain will sit on your cabinet wood, helping you dodge any surprises down the line.
Step-by-Step Guide to Applying Stain to Cabinets
Getting stain on evenly is absolutely key if you want a finish that looks truly professional. I’ve found that using smooth and consistent strokes that follow the wood grain makes all the difference. Plus wiping away any extra stain right away helps keep those pesky blotches at bay.
- Give the stain a good stir to mix those pigments evenly—just steer clear of shaking it because that invites bubbles and nobody wants bubbly woodwork.
- Slather on the stain generously using a natural-bristle brush or a lint-free cloth and always go with the grain of the wood to help it soak in evenly.
- After letting it sit for a few minutes, grab a clean rag and wipe off any extra stain to keep things smooth and avoid blotchy patches.
- Allow the stain to dry completely by following the product's suggested drying time, usually around 4 to 6 hours. Patience really pays off here.
- If you’re aiming for a deeper richer color, add a second or even third coat but remember to repeat the same steps once each layer has dried.
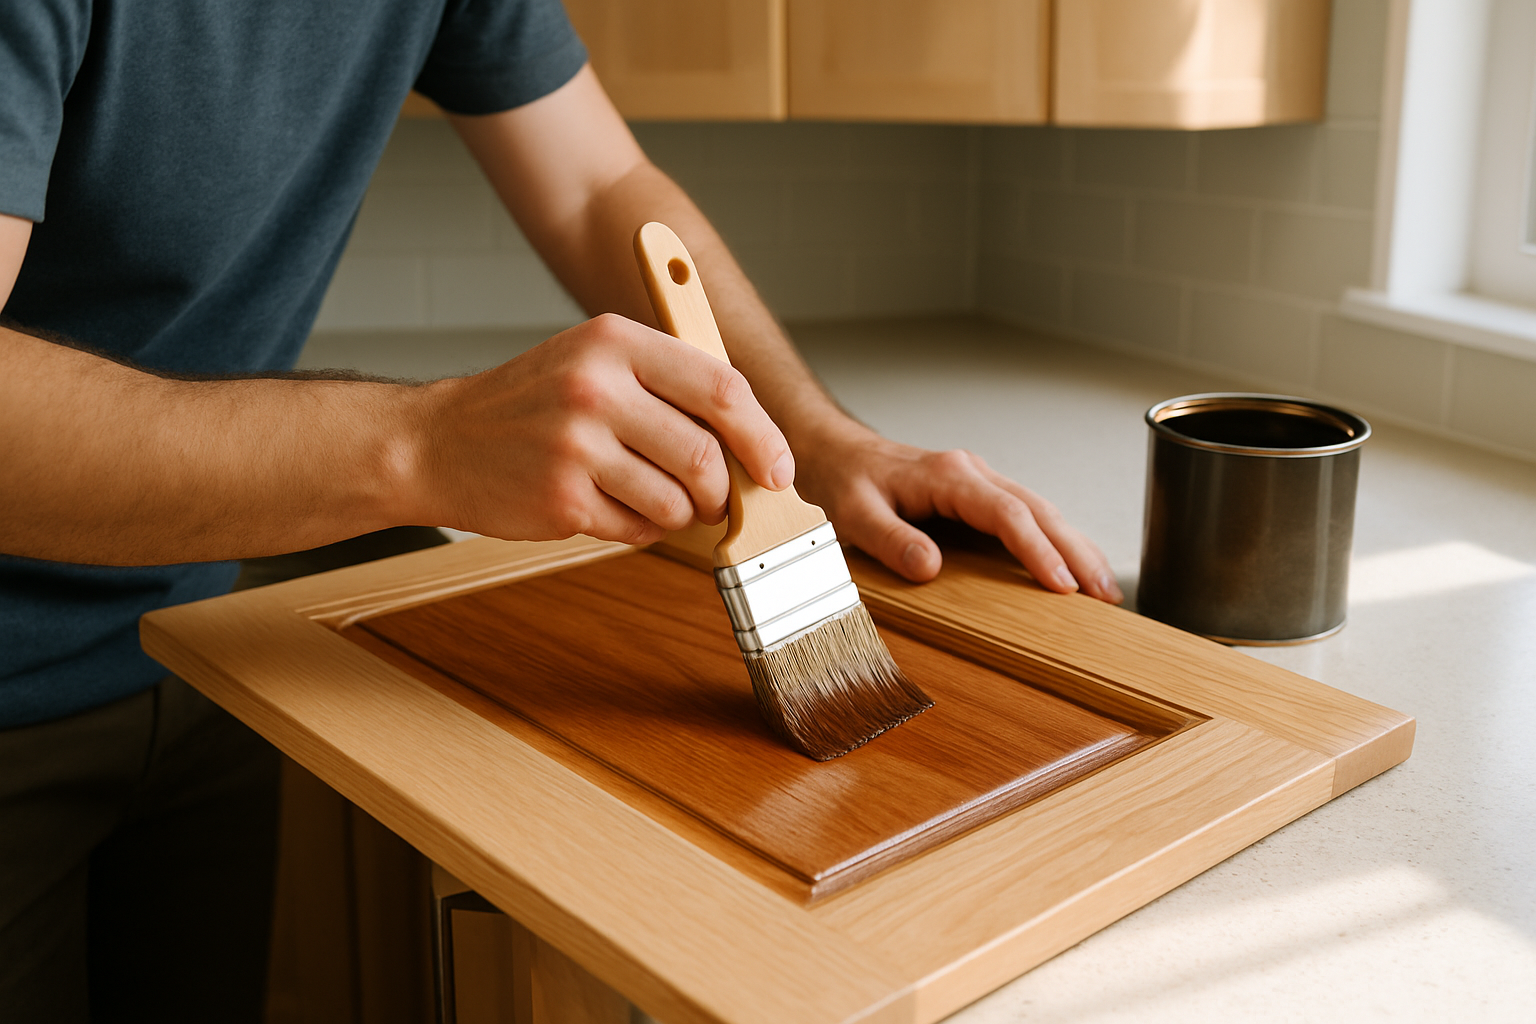
Applying wood stain to a cabinet door with smooth, even brush strokes following the wood grain.
How to Seal and Finish Your Stained Cabinets Like a Pro (or at Least Try to)
Once you have stained your cabinets, applying a clear finish is key to keep that rich color popping and shield them from bumps and scrapes from daily life. The usual suspects are polyurethane, lacquer and varnish. Choose one that fits how tough you need the finish to be and the kind of shine you want.
- Pick a finish that really suits how your kitchen gets used. After all, those busy spots hold up much better with a tough polyurethane coat.
- Grab a good-quality brush and apply thin even coats. Or if you are feeling fancy, a spray applicator can give you an ultra-smooth finish we all admire.
- Don’t forget to lightly sand between coats with fine-grit sandpaper. This step smooths out imperfections and helps the next layer stick like glue.
- Stick to the manufacturer’s drying times because rushing can leave you with a finish that stays sticky or soft which nobody wants.
Putting Your Refinished Cabinets Back Together and Taking Care of Them A Few Tips From Someone Who’s Been There
Once all the finishes have completely cured, it’s worth taking a bit of extra care during reassembly to really protect all the hard work you have put into learning how to refinish cabinets with stain. Be sure to reinstall hardware securely—nobody wants a wobbly handle sneaking up on them—and keep an eye out for any sneaky scratches.
- Make sure hinges, knobs and handles are snug so they don’t wobble or get damaged over time.
- Avoid harsh chemical cleaners because they can wear down the finish. A little mild soap and water usually does the trick.
- Give your cabinets a regular dusting with a soft dry cloth and wipe gently when needed to keep that fresh polished look.
- Always pop coasters or mats under wet items because your cabinets will thank you for saving them from water stains and damage.