Gluten Free Puffed Quinoa Crispy Treats Made Simple
Puffed quinoa crispy treats offer a delicious, gluten-free twist on the classic rice crispy dessert we all know and love. They have been gaining quite the following lately, and it’s easy to see why—combining the nutritional perks of quinoa with that satisfyingly chewy crunch makes for a snack that is both familiar and a bit adventurous.
Getting to Know Puffed Quinoa and Why It Matters (Because It Really Does)
Puffed quinoa is whole quinoa grain heated until it puffs up and transforms into a light and crispy treat that is hard to resist. This clever process keeps quinoa's rich protein, fiber and minerals locked in.
Key Ingredients for Gluten-Free Puffed Quinoa Crispy Treats (That'll Make You Want to Dive Right In)
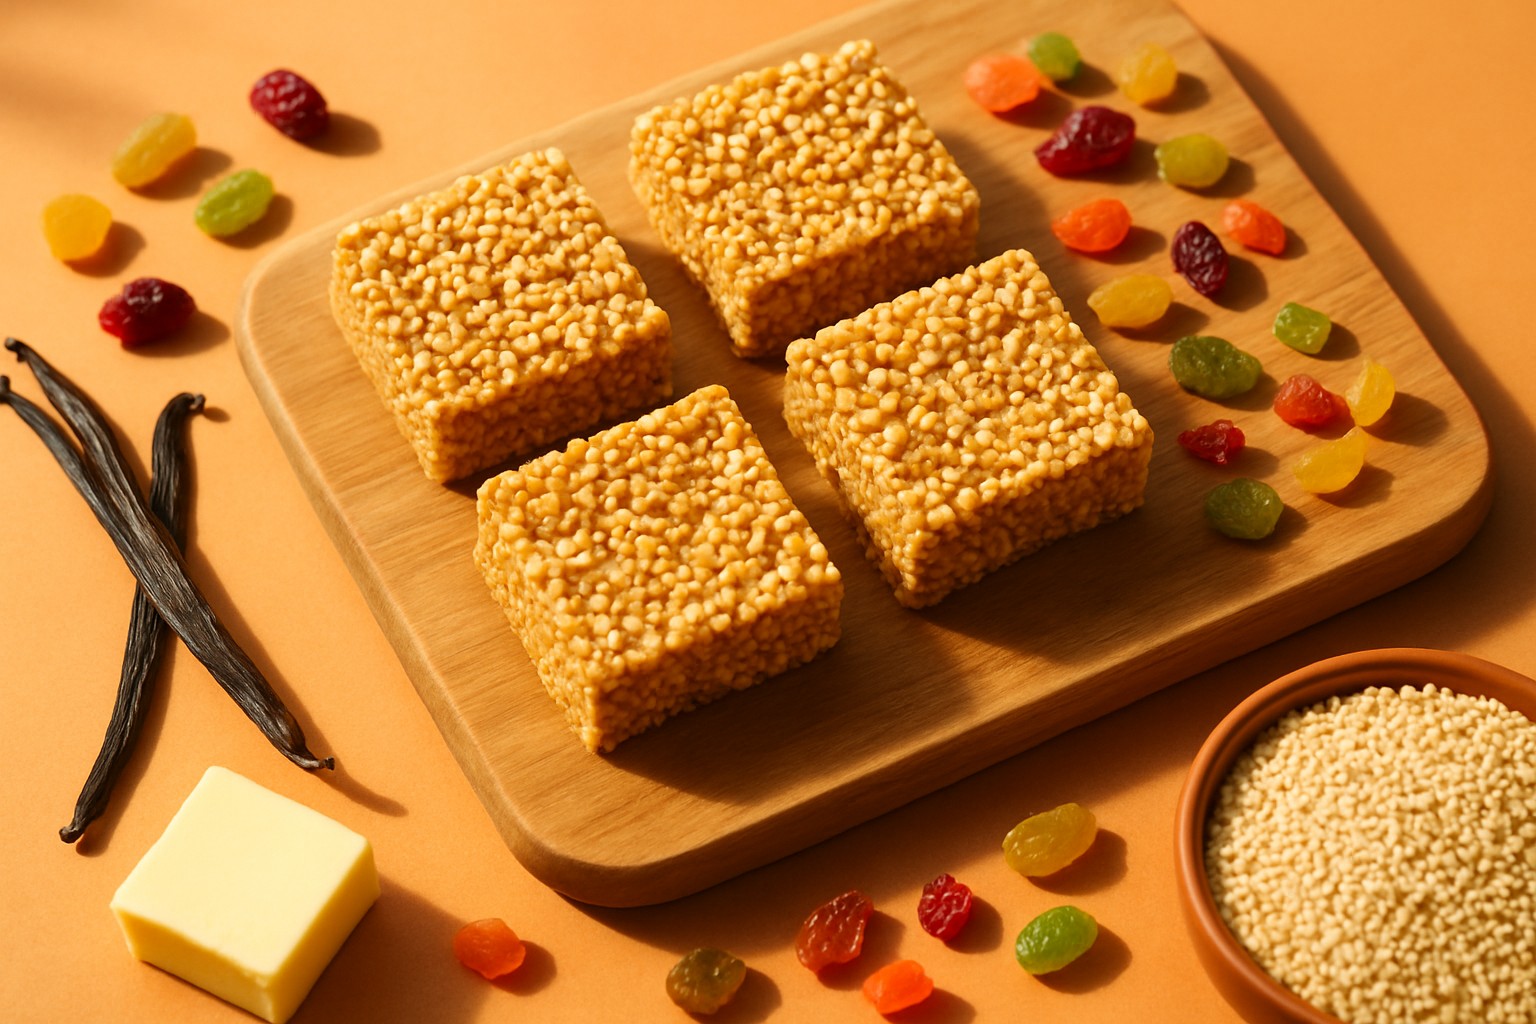
- Puffed quinoa forms the crunchy base and offers a satisfying snap along with solid nutrition.
- Gluten-free marshmallows or other sticky helpers like agave syrup or brown rice syrup do the important job of holding everything together.
- Butter or coconut oil adds richness and keeps these treats moist and far from dry.
- A splash of pure vanilla extract gives the flavor a gentle lift.
- If you’re feeling adventurous, tossing in chopped nuts, dried fruits or seeds adds extra texture and a lovely mix of flavors to keep things interesting.
When picking out ingredients, it pays off to carefully check labels for certified gluten-free status because cross-contamination is sneaky and not our friend here. If you are allergic to dairy, swapping butter for coconut oil or a vegan butter alternative can save the day without losing richness. For those avoiding marshmallows, natural sticky sweeteners like brown rice syrup or maple syrup work well as binders and keep everything gluten-free and delicious. I usually avoid pre-packaged mixes since they sometimes hide gluten or other additives you would not expect.
How to Make Puffed Quinoa Crispy Treats, Step by Step (With a Pinch of Fun)
- Line a 9x9-inch pan with parchment paper. This simple trick makes scooping out the treats much easier later on.
- Gently melt the butter and gluten-free marshmallows together in a large pot over low heat. Stir frequently until the mixture is silky smooth and well combined.
- When ready, take the pot off the heat. Stir in the vanilla extract then carefully fold in the puffed quinoa, making sure each tiny grain is evenly coated.
- Pour this luscious mixture into your prepared pan and press it down firmly. You can use a spatula or greased hands to create an even layer that will hold together well.
- Let the treats cool completely at room temperature before slicing them into squares. This step helps keep them crisp and looking neat.
To keep your butter and marshmallows from turning bitter or goopy, which can wreck the flavor and texture, it’s a good idea to melt them slowly while stirring now and then. When you toss in the puffed quinoa, fold it in gently to preserve the airy crunch. Press the mixture down evenly with some muscle to help it stick together and stop it from falling apart once it cools.
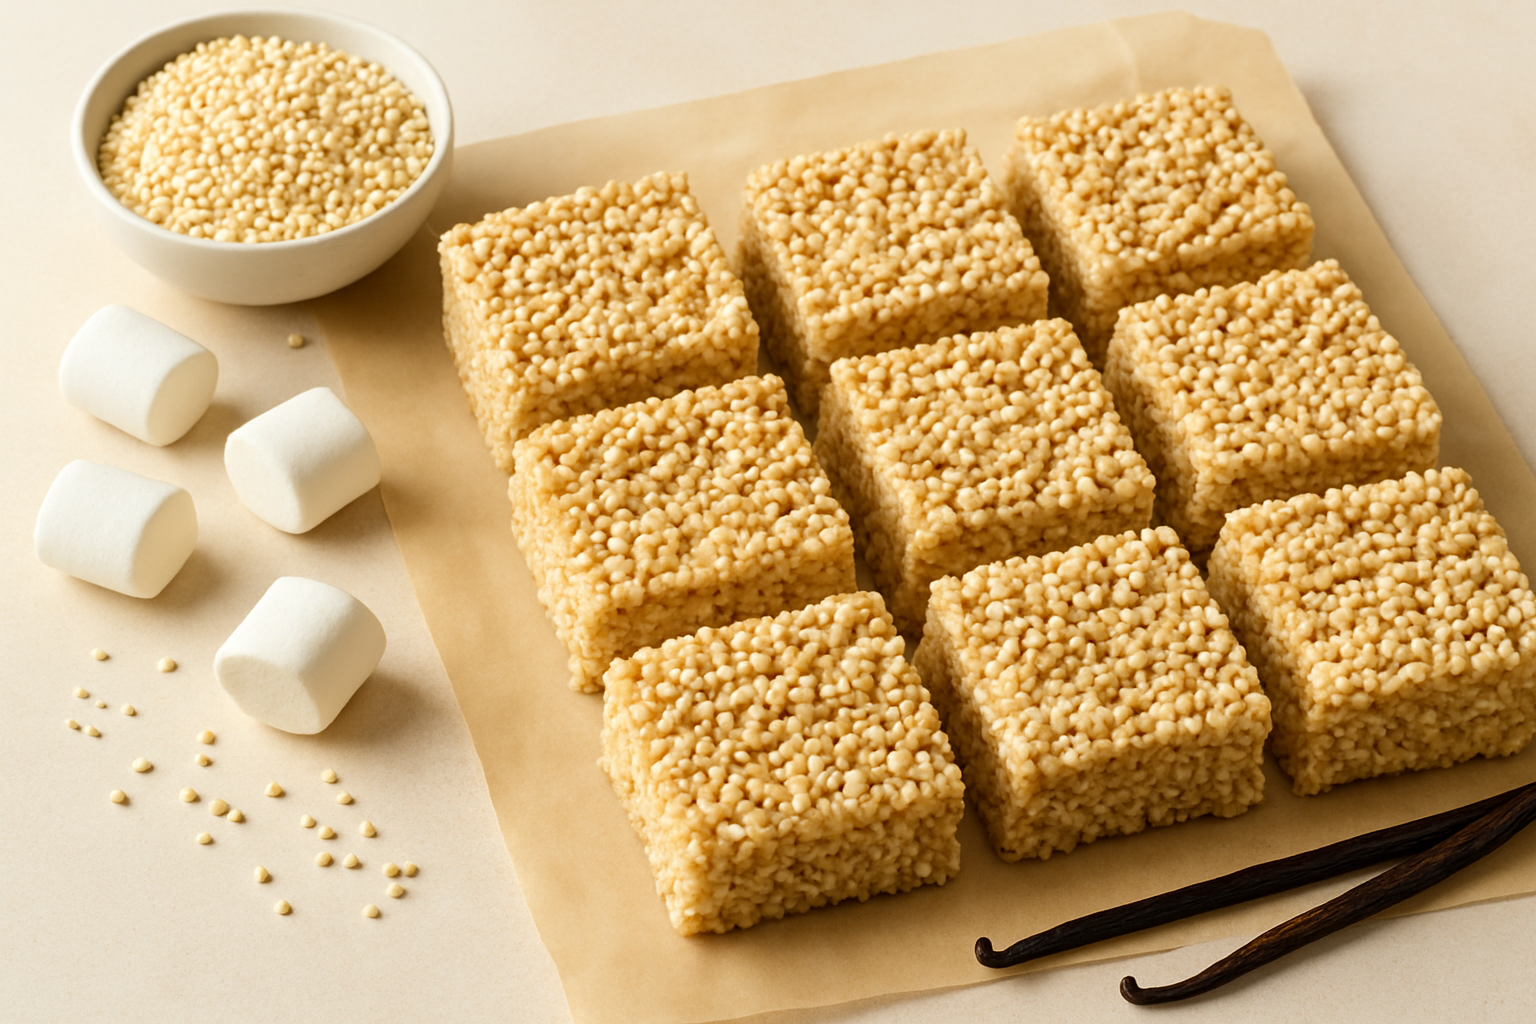
Freshly made gluten-free puffed quinoa crispy treats cut into perfect squares, showcasing their texture and wholesome ingredients
How to Troubleshoot Common Problems Like a Pro
- If your treats end up a bit too crumbly for comfort, try adding extra binder like marshmallows or syrup to help everything stick together.
- Avoid unwanted sogginess by making sure your puffed quinoa is fresh and dry. Press down firmly while shaping them—no wimpy squishing allowed!
- When marshmallows aren’t melting smoothly, lower the heat and keep stirring steadily. This is the best way to avoid a burnt flavor.
- To get that perfect crunch, let your treats cool completely before slicing. Cutting them while warm makes them softer and more likely to break apart, which can be disappointing.
Beginners often overdo it with the heat on the marshmallow mixture which can lead to a burnt flavor or a grainy texture that makes everything stick together like oil and water. Another hiccup I’ve seen is not pressing the mixture down firmly enough which leaves the grains loosely packed and prone to crumbling like a cookie past its prime. Be sure to let your treats cool completely before slicing—cutting too soon causes a messy disaster. Storing them in a humid spot quickly turns those crispy delights into soggy regrets. If your batch is dry, a light brushing of melted butter or a drizzle of honey just before cooling can add moisture and help everything stick together like old friends.
Creative Ways to Switch Up and Boost Your Treats
- Use natural sweeteners like maple syrup or honey to give the flavor a richer and warmer depth that feels just right.
- Toss in dark chocolate chips or swirl in melted nut butters for a little extra indulgence because sometimes you deserve to treat yourself.
- Sprinkle in seeds like chia, flax or pumpkin to boost nutrition and add a satisfying crunch that keeps things interesting.
- Stir in chopped dried fruits such as cranberries, apricots or raisins for delightful chewy bursts that make each bite a surprise.
- Shape them as mini bites or bars whatever floats your boat and fits your serving style.
- Experiment with vegan or paleo tweaks by swapping butter and marshmallows for coconut oil and natural binders—it’s easier than it sounds.
These little differences really pack a punch when it comes to flavor and texture, making the treats fit for all sorts of occasions and dietary quirks.
Tips for Storing and Serving That Keep Freshness at Its Absolute Best
Keep your puffed quinoa crispy treats nice and crunchy by stashing them in an airtight container at room temperature. This will keep them fresh for up to a week. Putting them in the fridge tends to invite unwanted moisture and turn those crispy bites into a soggy mess.