Creating Your Own Photo Board Book Without Special Tools
When you create your own photo board book, you get a surprisingly delightful and tough little keepsake made with thick cardboard pages instead of flimsy paper. It offers a tactile long-lasting way to show off your favorite photos and honestly there’s something really satisfying about flipping through them.
Lots of individuals assume you have to shell out for professional gear or fancy materials to whip up a photo board book but honestly, that’s not the case at all. This guide takes you step-by-step through crafting a charming and sturdy photo board book right in the comfort of your own home using simple everyday items like cardboard, scissors and basic glue.
What You will Need to Whip Up Your Very Own Photo Board Book
Kick off your photo board book project by gathering a few essential supplies. You’ll want printed photos or photo prints mounted on sturdy cardstock and cutting tools like scissors or a craft knife. Adhesives such as glue sticks or double-sided tape will come in handy too. For the pages and covers, sturdy cardboard or thick paper works perfectly. When it comes to binding, ribbon, string or binder clips can hold everything together nicely.
- Printed photos or photo prints on thick cardstock to ensure they stand the test of time with crisp clear images
- Sturdy cardboard sheets or chipboard that’ll give your pages and cover solid no-nonsense durability
- Scissors and a sharp craft knife for moments when precision really matters
- Glue stick, double-sided tape or craft glue—pick whatever sticks best with your materials and patience levels
- A ruler and pencil to measure and mark like a pro so your cuts come out just right
- Decorative paper, fabric scraps or washi tape to sprinkle in a bit of your own flair on pages and covers alike
- Hole puncher paired with strong string, ribbon or binder rings to keep everything neatly bound without a fuss
- Binder clips or paper clips to hold pages together temporarily—because those in-between moments are key
- Optional stamps, stickers or markers for adding captions or little decorative details that make the whole thing pop
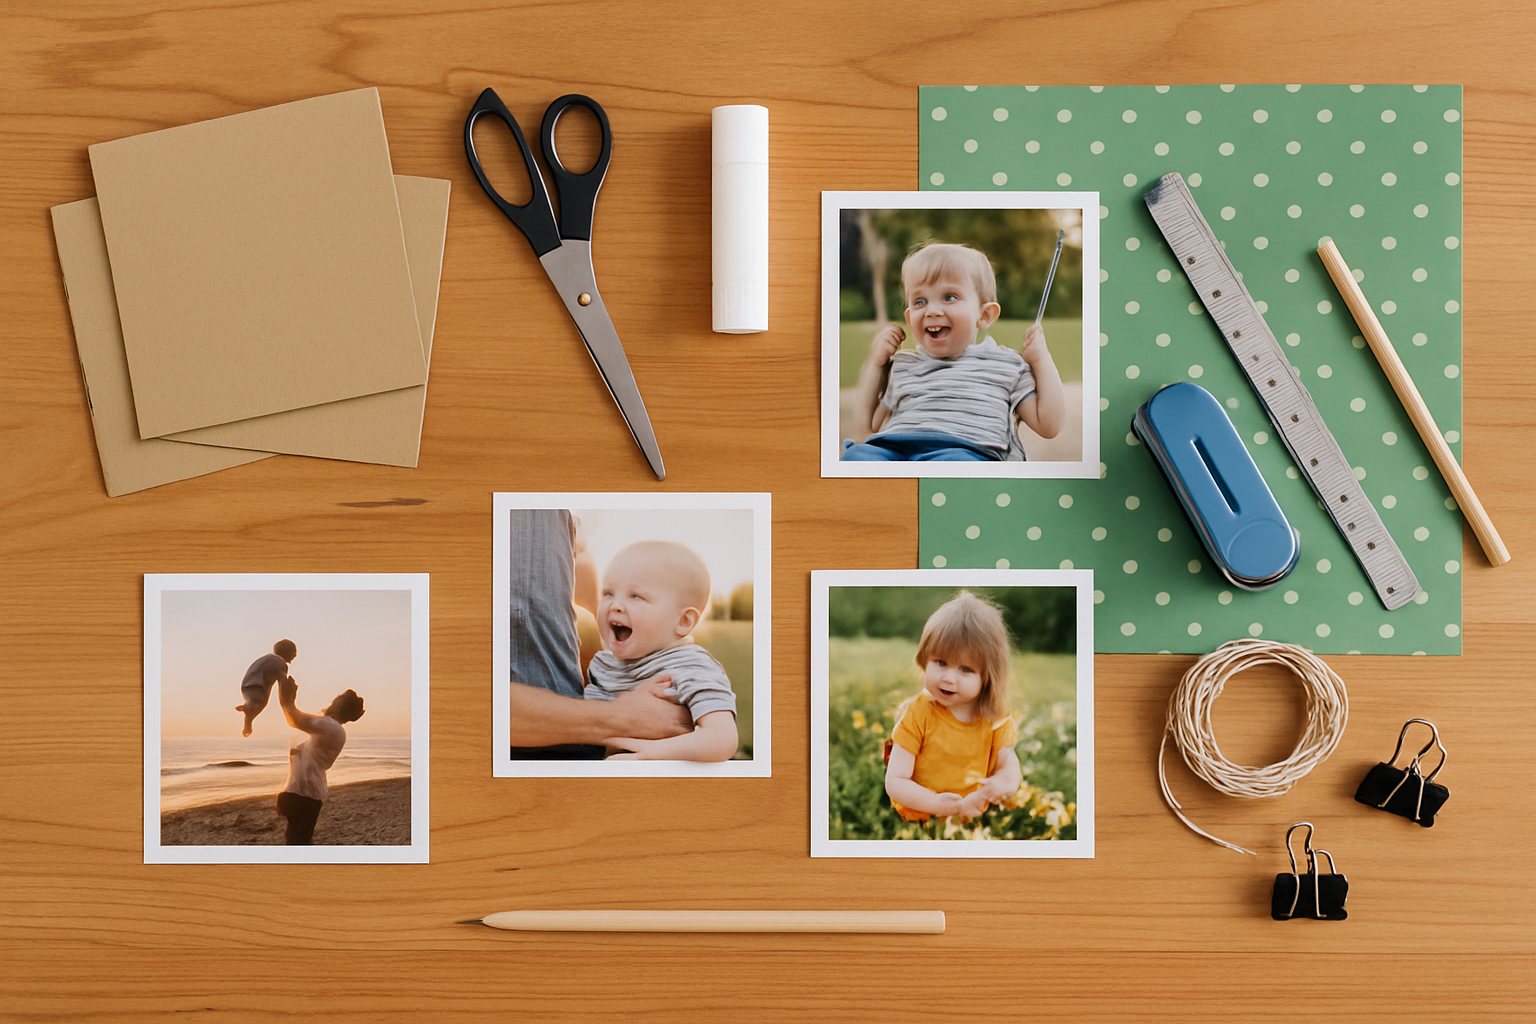
Materials needed to create your own photo board book displayed neatly on a workstation
How to Create Your Photo Board Book at Home, Step by Step (Without Losing Your Mind)
- Pick out your photos and print them in sizes that fit the page dimensions you have in mind. If needed, you can resize those digital images using free photo editing tools before sending them to print. Having the right fit makes all the difference.
- Measure and cut your cardboard sheets to the page size you prefer but leave a little wiggle room around your photos for a clean polished border. It’s those small details that really make the pages pop.
- Secure each photo to its cardboard page using a glue stick or double-sided tape. Take your time to smooth it out and avoid any pesky bubbles—nobody wants a mini blister museum on their photos.
- Add your personal flair to every page by decorating with patterned paper, washi tape borders or handwritten captions. It’s your scrapbook, so let it shout your personality a bit.
- For the cover, grab a thicker or double-layered piece of cardboard. Dress it up to match your theme and reinforce it if it feels flimsy. A sturdy cover sets the tone for what’s inside.
- To bind your book, punch evenly spaced holes along the edges of all the pages and cover. Thread some string or ribbon through and knot it tight enough to keep things together but loose enough to flip. If that sounds like too much hassle, binder clips or rings make a quick adjustable fix that still looks neat.
For the best results, grab a ruler and a pencil to mark your cutting lines before you trim the cardboard and photos. This little extra step pays off by helping your edges come out nice and clean, no wonky corners here. When you’re placing your photos, take a moment to line them up just right—nothing ruins the vibe faster than a crooked layout. As for binding, pick the method that suits both your materials and how permanent you want the book to be.
Inspiring Ways to Make Your Photo Board Book Truly Your Own Delight
- Jot down little handwritten notes or captions next to your photos to share stories or memories. This gives each page a warm personal vibe.
- Use decorative tapes or stickers to create themed borders and highlight special moments that make you smile.
- Experiment with patterned or textured backgrounds behind your photos. It adds an extra pop of visual interest that keeps the eye wandering.
- Attach bits of fabric, lace or textured paper to bring a tactile scrapbook-like feel to the pages because who doesn’t love something you can actually touch?
- Toss in interactive features like fold-out pages or pockets for keepsakes such as tickets or small mementos. This makes the experience feel more playful and alive.
- Play around with stamped designs or watercolors around your photos to add a charming artistic flair. No need to be Picasso; just go with the flow.
- Pick color-coordinated embellishments that match your photo themes or the seasons in your book. It’s those little complementary touches that really pull things together.
Adding a personal touch to your photo board book can really crank up its sentimental value, giving it that extra heartbeat. It takes what could be just a straightforward photo display and spins it into something genuinely special and meaningful.
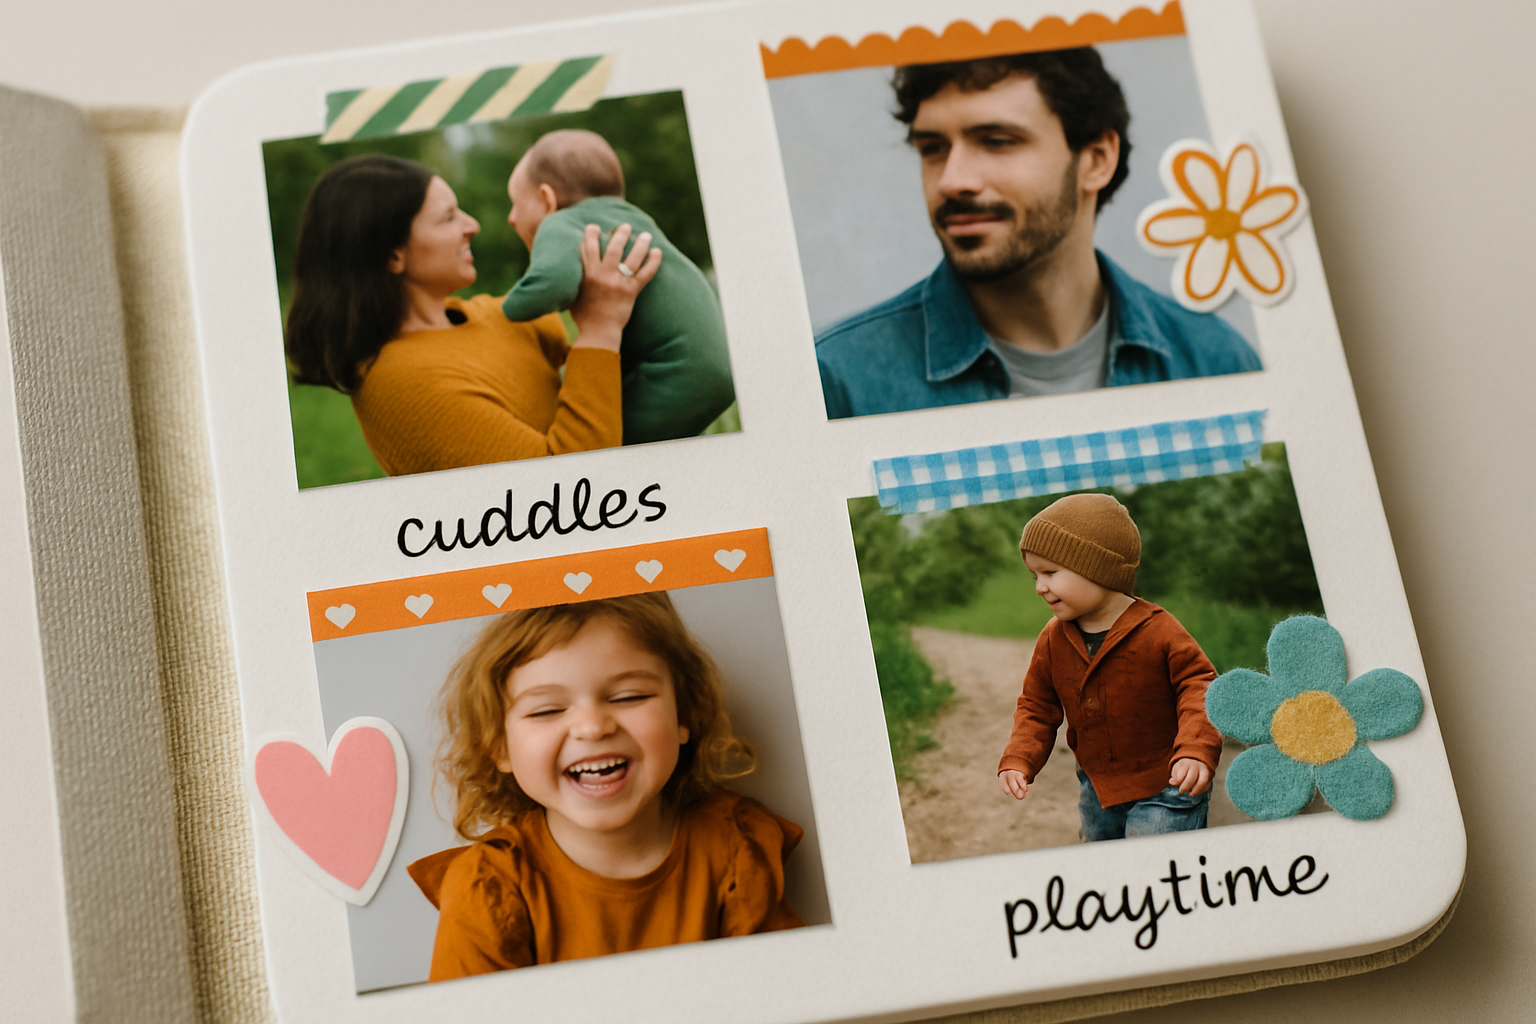
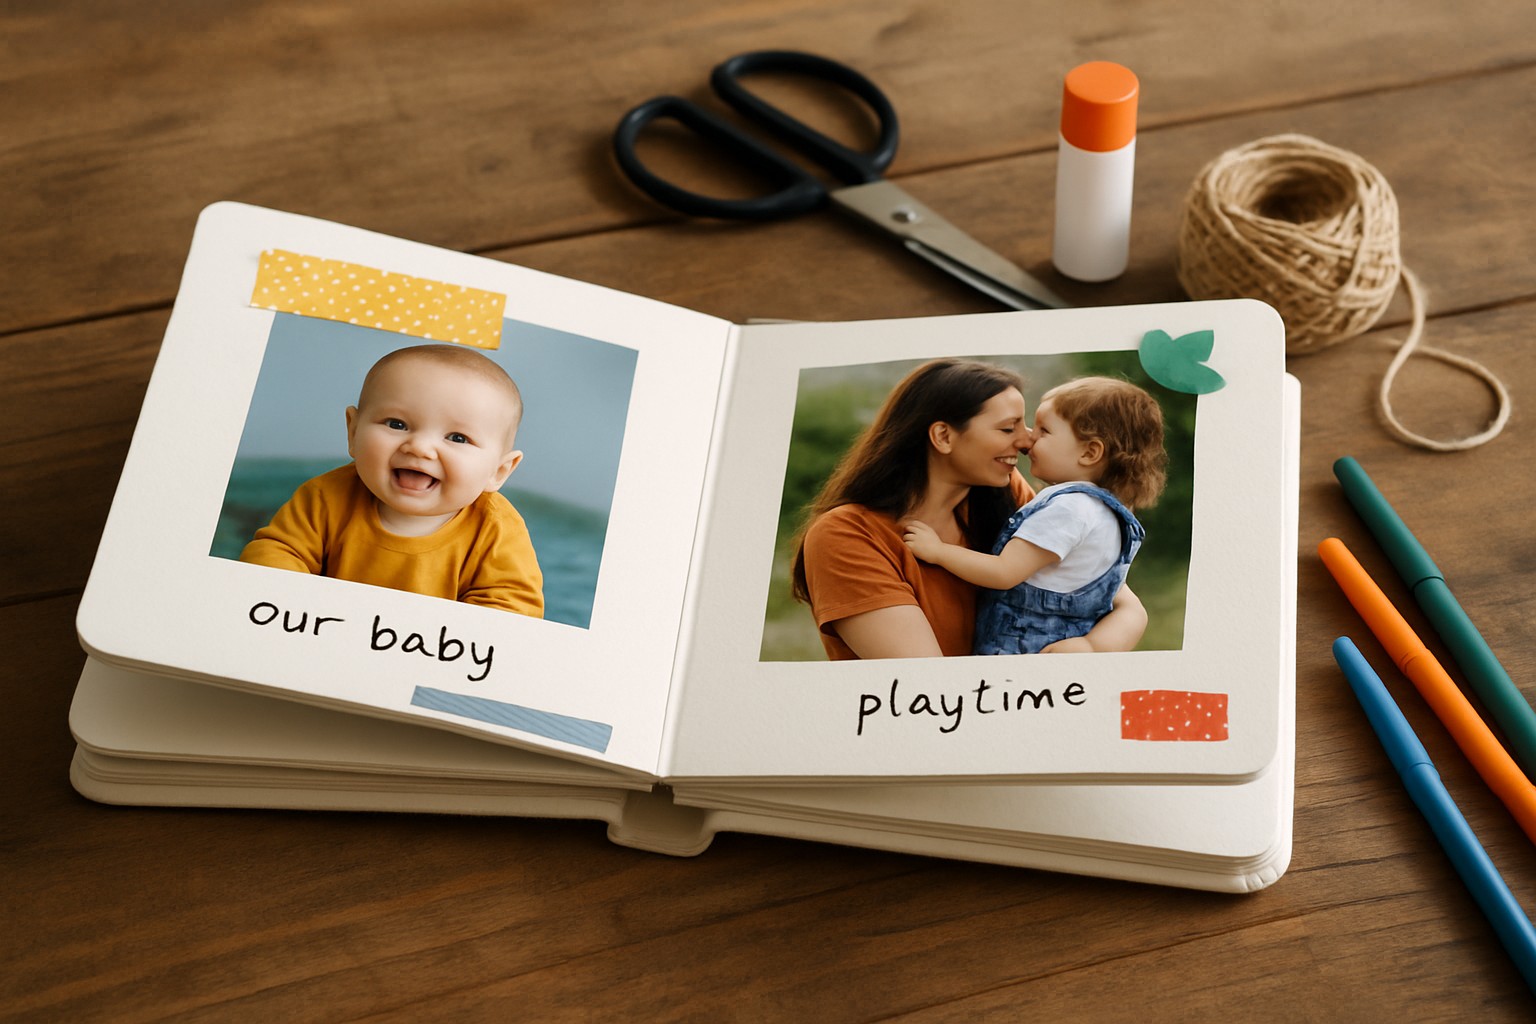
Example of a personalized photo board book page with decorations and captions
Tackling Those Common Hiccups We All Run Into
- Photos curling or peeling usually happens when the backing is not sturdy enough or the adhesive has not been spread evenly. It is like trying to hold up a leaky umbrella in the rain. Using heavier cardstock and spreading your glue with a steady hand can help keep those edges flat.
- It’s worth trying a stronger option like tacky craft glue or double-sided tape made specifically for heftier materials. It can make a big difference.
- When pages don’t line up perfectly, it often means you need to channel your inner precision ninja and measure and cut with extra care. If there’s a tiny mismatch once everything’s together, a quick trim along the edges usually sorts it out.
- Binding tends to loosen over time like your favorite old sweater getting stretched out. Reinforcing the holes with small washers or switching to sturdier options like thicker ribbon or metal rings can help keep things snug and secure.
- Decorations getting wrinkled or damaged usually happens because embellishments were applied too hastily. Taking your time, letting the glue dry flat under some weight, and showing patience can save you from those frustrating bumps and warps.
When you decide to create your own photo board book, it demands patience and a sprinkle of trial and error, especially if you’re just getting your feet wet with thickness and binding. Remember that little imperfections add a lovely handmade charm. It’s all part of the process and each step quietly boosts your skills.