Can You Put a Darker Stain Over a Lighter Stain on Wood?
Many woodworkers and DIY enthusiasts often wonder: can you put a darker stain over a lighter stain to breathe new life into furniture or flooring? Understanding the nitty-gritty details and little tricks of this process is key
Can You Really Put a Darker Stain Over a Lighter Stain on Wood Without a Hitch?
Yes, you can definitely slap a darker stain over a lighter one but it’s not as straightforward as simply painting on a fresh coat. Stains soak right into the wood fibers. When you add another layer, it interacts with the original stain in chemical and visual ways that depend on the base stain, the type of wood, and the finish.
Things to Mull Over Before Slapping a Darker Stain on Top of a Lighter One
- The type of wood and how thirsty it is really affect how a fresh stain will turn out since hardwoods and softwoods soak up stains in unique ways.
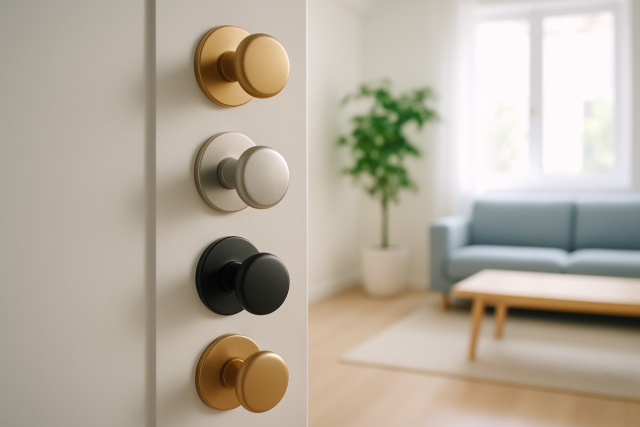
- It’s worth knowing whether the previous stain was oil-based or water-based because mixing them can cause uneven color or a finish that won’t stick.
- Take a good look at the current stain’s condition. Any signs of wear or damage could throw a wrench in your plans for a flawless new coat.
- Properly prepping the surface with cleaning and sanding is key if you want the stain to grab hold and avoid blotchy spots.
- Don’t forget to picture the final look you want, including whether the new stain should be see-through or solid and if a sealer will be needed.
Each of these factors plays a direct role in how well the darker stain grips the wood and how the final color turns out. For instance, slapping an oil-based stain over a water-based one without the right prep work leads to peeling down the line. Similarly, wood that’s too shiny or covered in grime usually refuses to accept the new stain evenly and leaves you with dreaded patchy spots.
Step-by-Step Guide on Applying a Darker Stain Over a Lighter One
Sometimes you just want to deepen that wood tone without starting from scratch. This guide will walk you through the process in an easy, straightforward way—no surprises, just solid advice.
- Take a good look at the wood and the existing lighter stain for any signs of peeling or dullness—it’s the best way to get a feel for their current state.
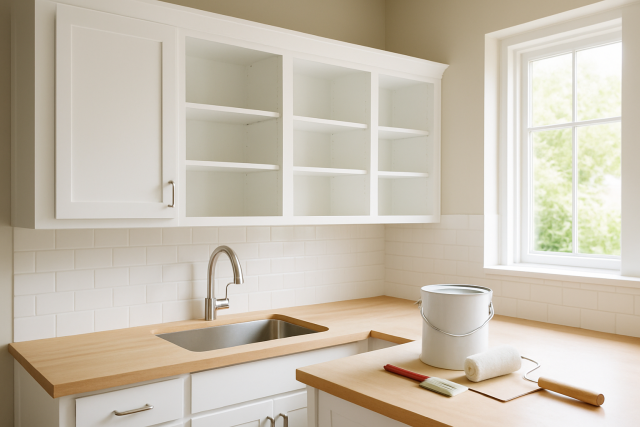
- Give the wood surface a thorough cleaning to whisk away dust, oils and debris using a tack cloth or a trusty wood cleaner.
- Gently sand the entire surface with 220-grit sandpaper just enough to take down the gloss and add some tooth so the new stain has something to grab onto.
- Choose a darker stain that’s the same type as the old one whether oil- or water-based to dodge any sticky adhesion problems.
- Always test the stain on a small out-of-sight spot to see how the color shifts and make sure it really sticks.
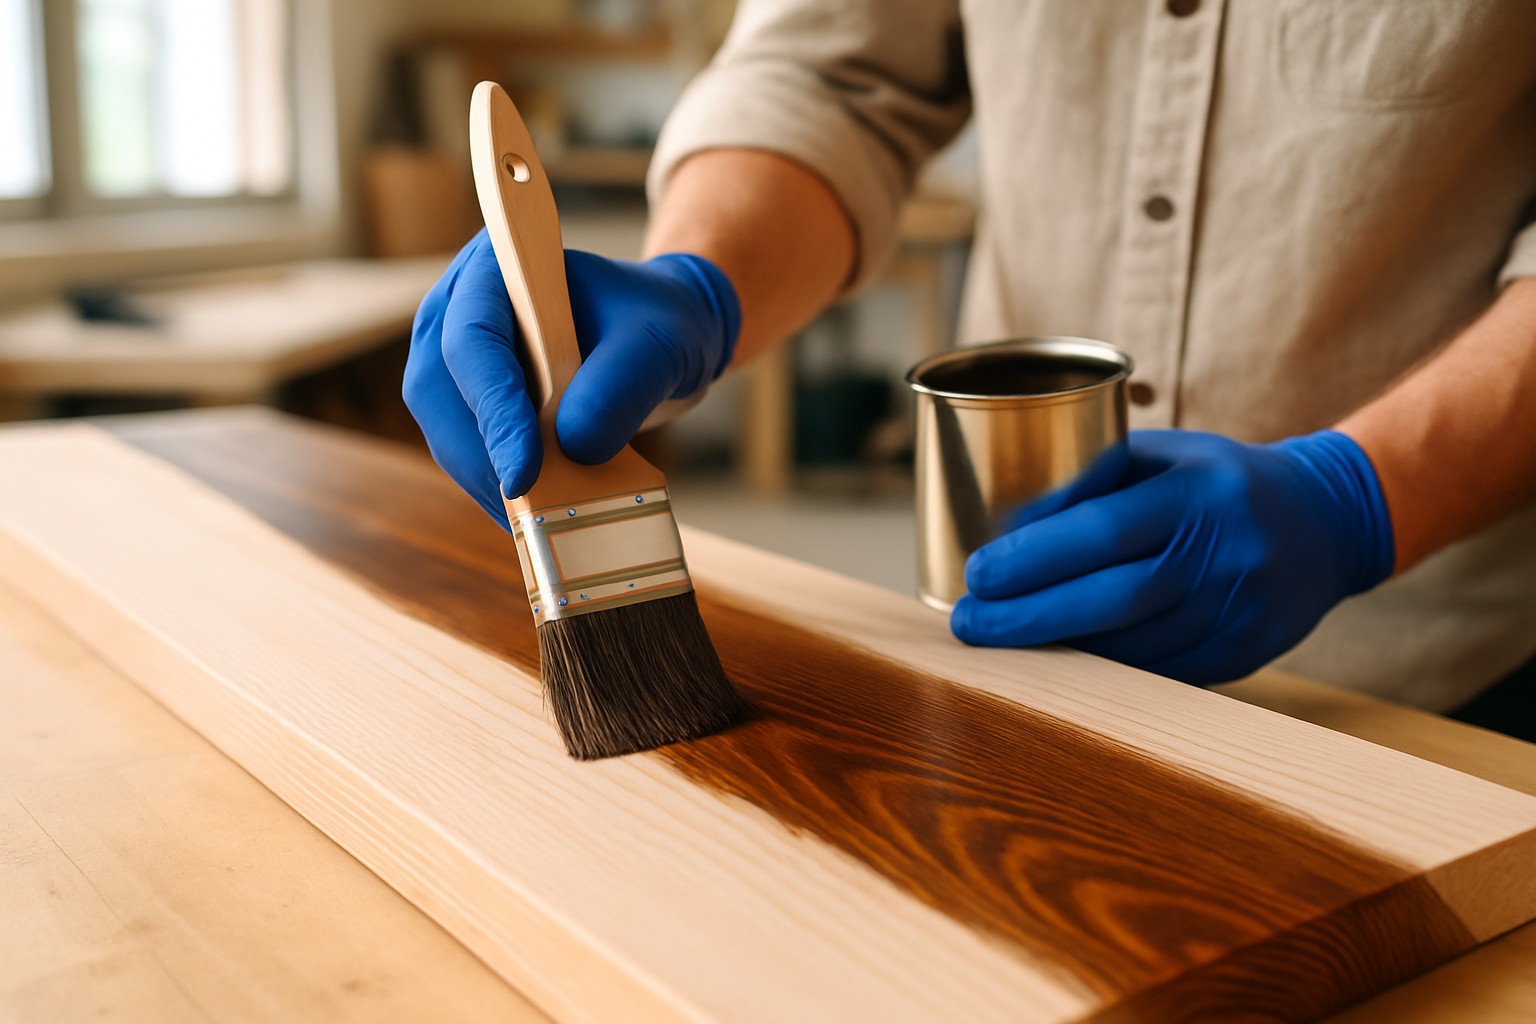
- Apply the darker stain in thin coats using a brush, cloth or sponge and go with the wood grain for an even consistent finish.
- Patience pays off here: let each coat dry completely usually 4 to 6 hours before going back in for more if you’re aiming for a richer deeper color.
- Wrap it all up by sealing the stained surface with a clear protective layer like polyurethane, lacquer or varnish—this adds durability and keeps your wood looking sharp for the long haul.
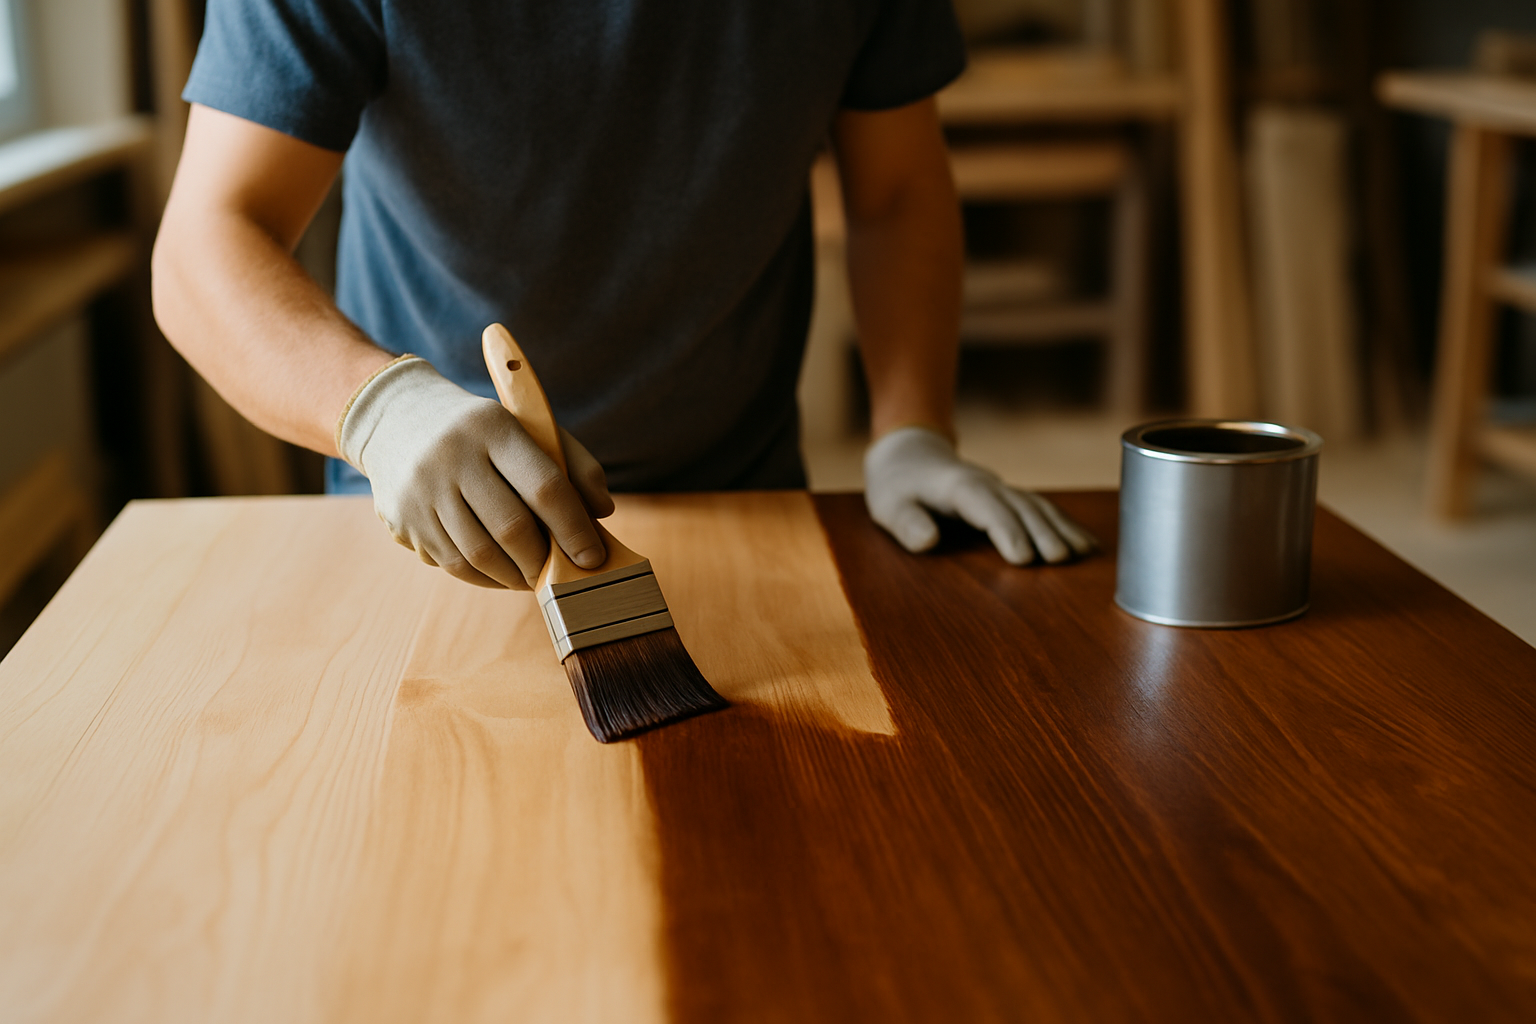
Applying a darker wood stain over a lighter stained wood surface during the finishing process
Try to avoid common slip-ups like applying the stain too thick or skipping sanding since those cause blotchy patches or flaky finishes nobody wants. Applying thin, even coats and letting each layer dry thoroughly usually produces a smooth color that makes the wood grain pop.
Other Options to Consider Before Slapping a Darker Stain Over a Lighter One
- Completely stripping off the old lighter stain down to bare wood before laying on a darker color. This step really helps you get a better grip on the project and a polished finish that is hard to beat.
- Going for a gel stain that stays on the surface. It’s a clever trick that usually delivers even coverage, especially over tricky existing stains.
- Slathering on a tinted wood conditioner or pre-stain treatment to even out how the wood soaks things up and give the final look a smooth boost.
- Painting right over the stained wood when you want a different vibe or an opaque color. Sometimes that’s just the ticket.
- Mixing traditional stains with gel stains to create custom colors and get uniform coverage on oddball wood surfaces that keep you guessing.
Each option has its own perks and pitfalls. Stripping requires elbow grease but sets the perfect stage. Gel stains speed things up and provide better coverage even if they don’t always look natural. Wood conditioners help tame blotchiness on porous woods but add an extra step to the process. Painting completely changes the color and hides the wood’s natural grain which might be a blessing or a curse depending on how you see it. Blended products give you the freedom to tailor the look just right but you’ll need more finesse to pull it off.
How to Tackle Those Pesky Darker Stains That Just Will not Cover Right
If the darker stain ends up looking uneven or patchy with lighter spots still showing, don’t sweat it. These hiccups usually happen when you put a darker stain over a lighter stain without proper surface prep or because the stain formula doesn't work well with the material.
- Give those problem spots another round of sanding to smooth out any rough patches and banish peeling or flaky stain because it’s worth the extra elbow grease.
- Make sure to clean the surface thoroughly, since dust and oils love to sneak in and prevent your stain from sticking properly.
- When applying additional coats, go thin and steady. Patience is key here. Let each layer dry fully before adding the next so you end up with a nice, even color instead of a patchy mess.
- Consider using gel stains or specially formulated paint stains for better coverage when you need a stronger corrective touch.
- If you keep hitting snags or are dealing with stubborn wood types, call in a professional finisher because sometimes it’s just easier to get an expert’s magic touch.